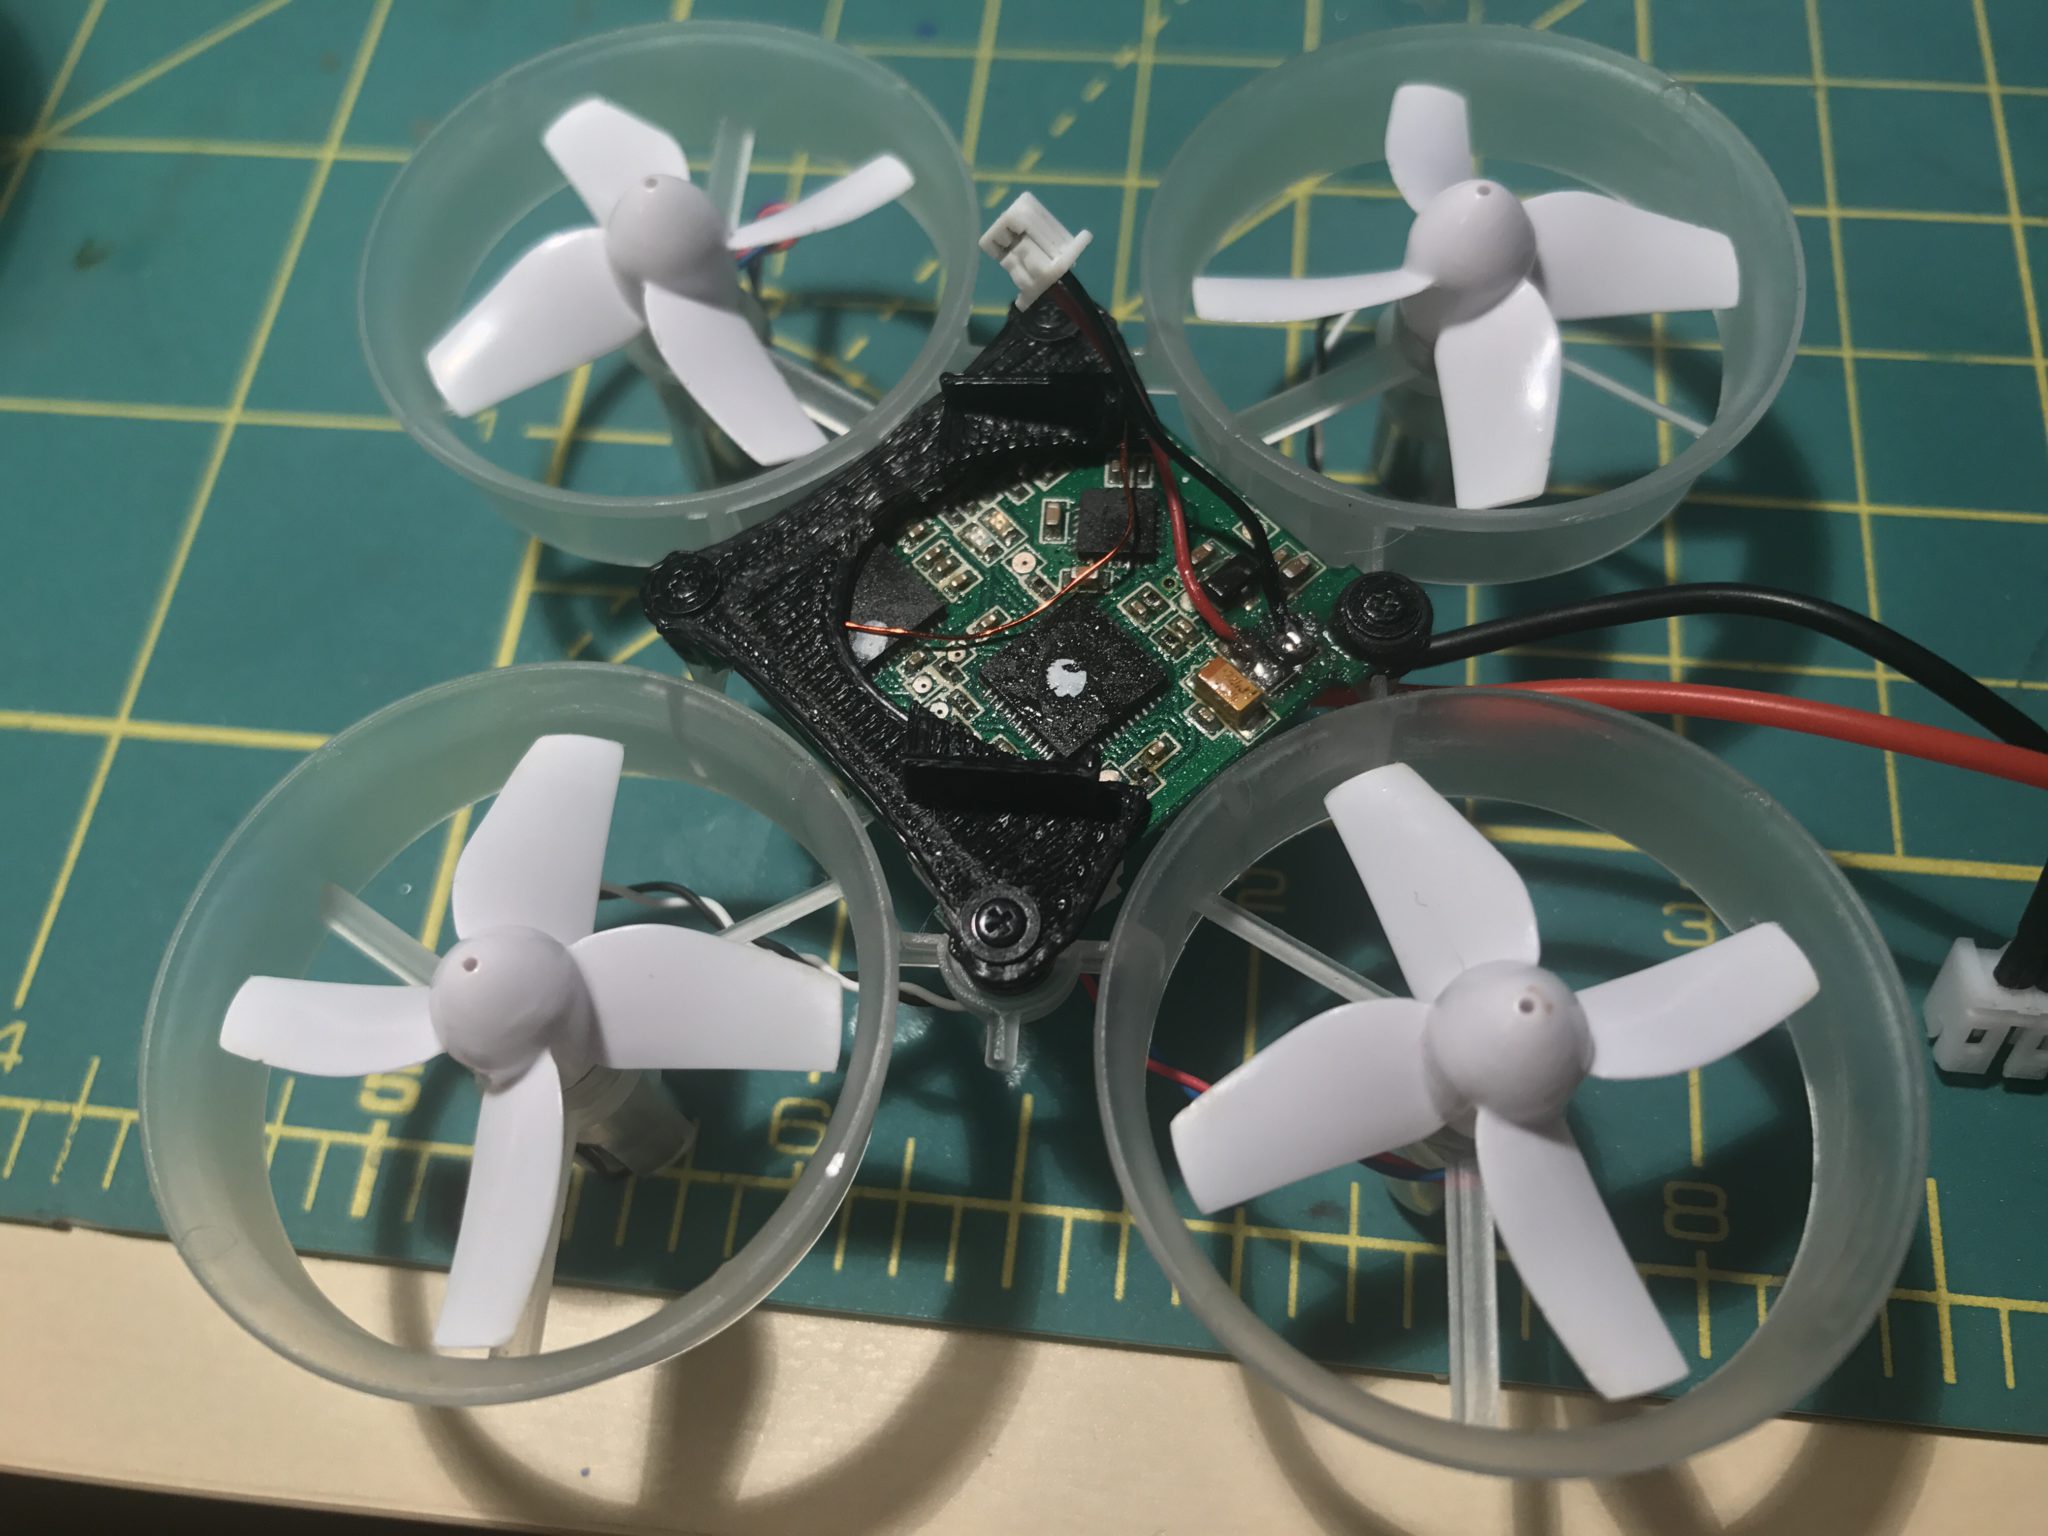
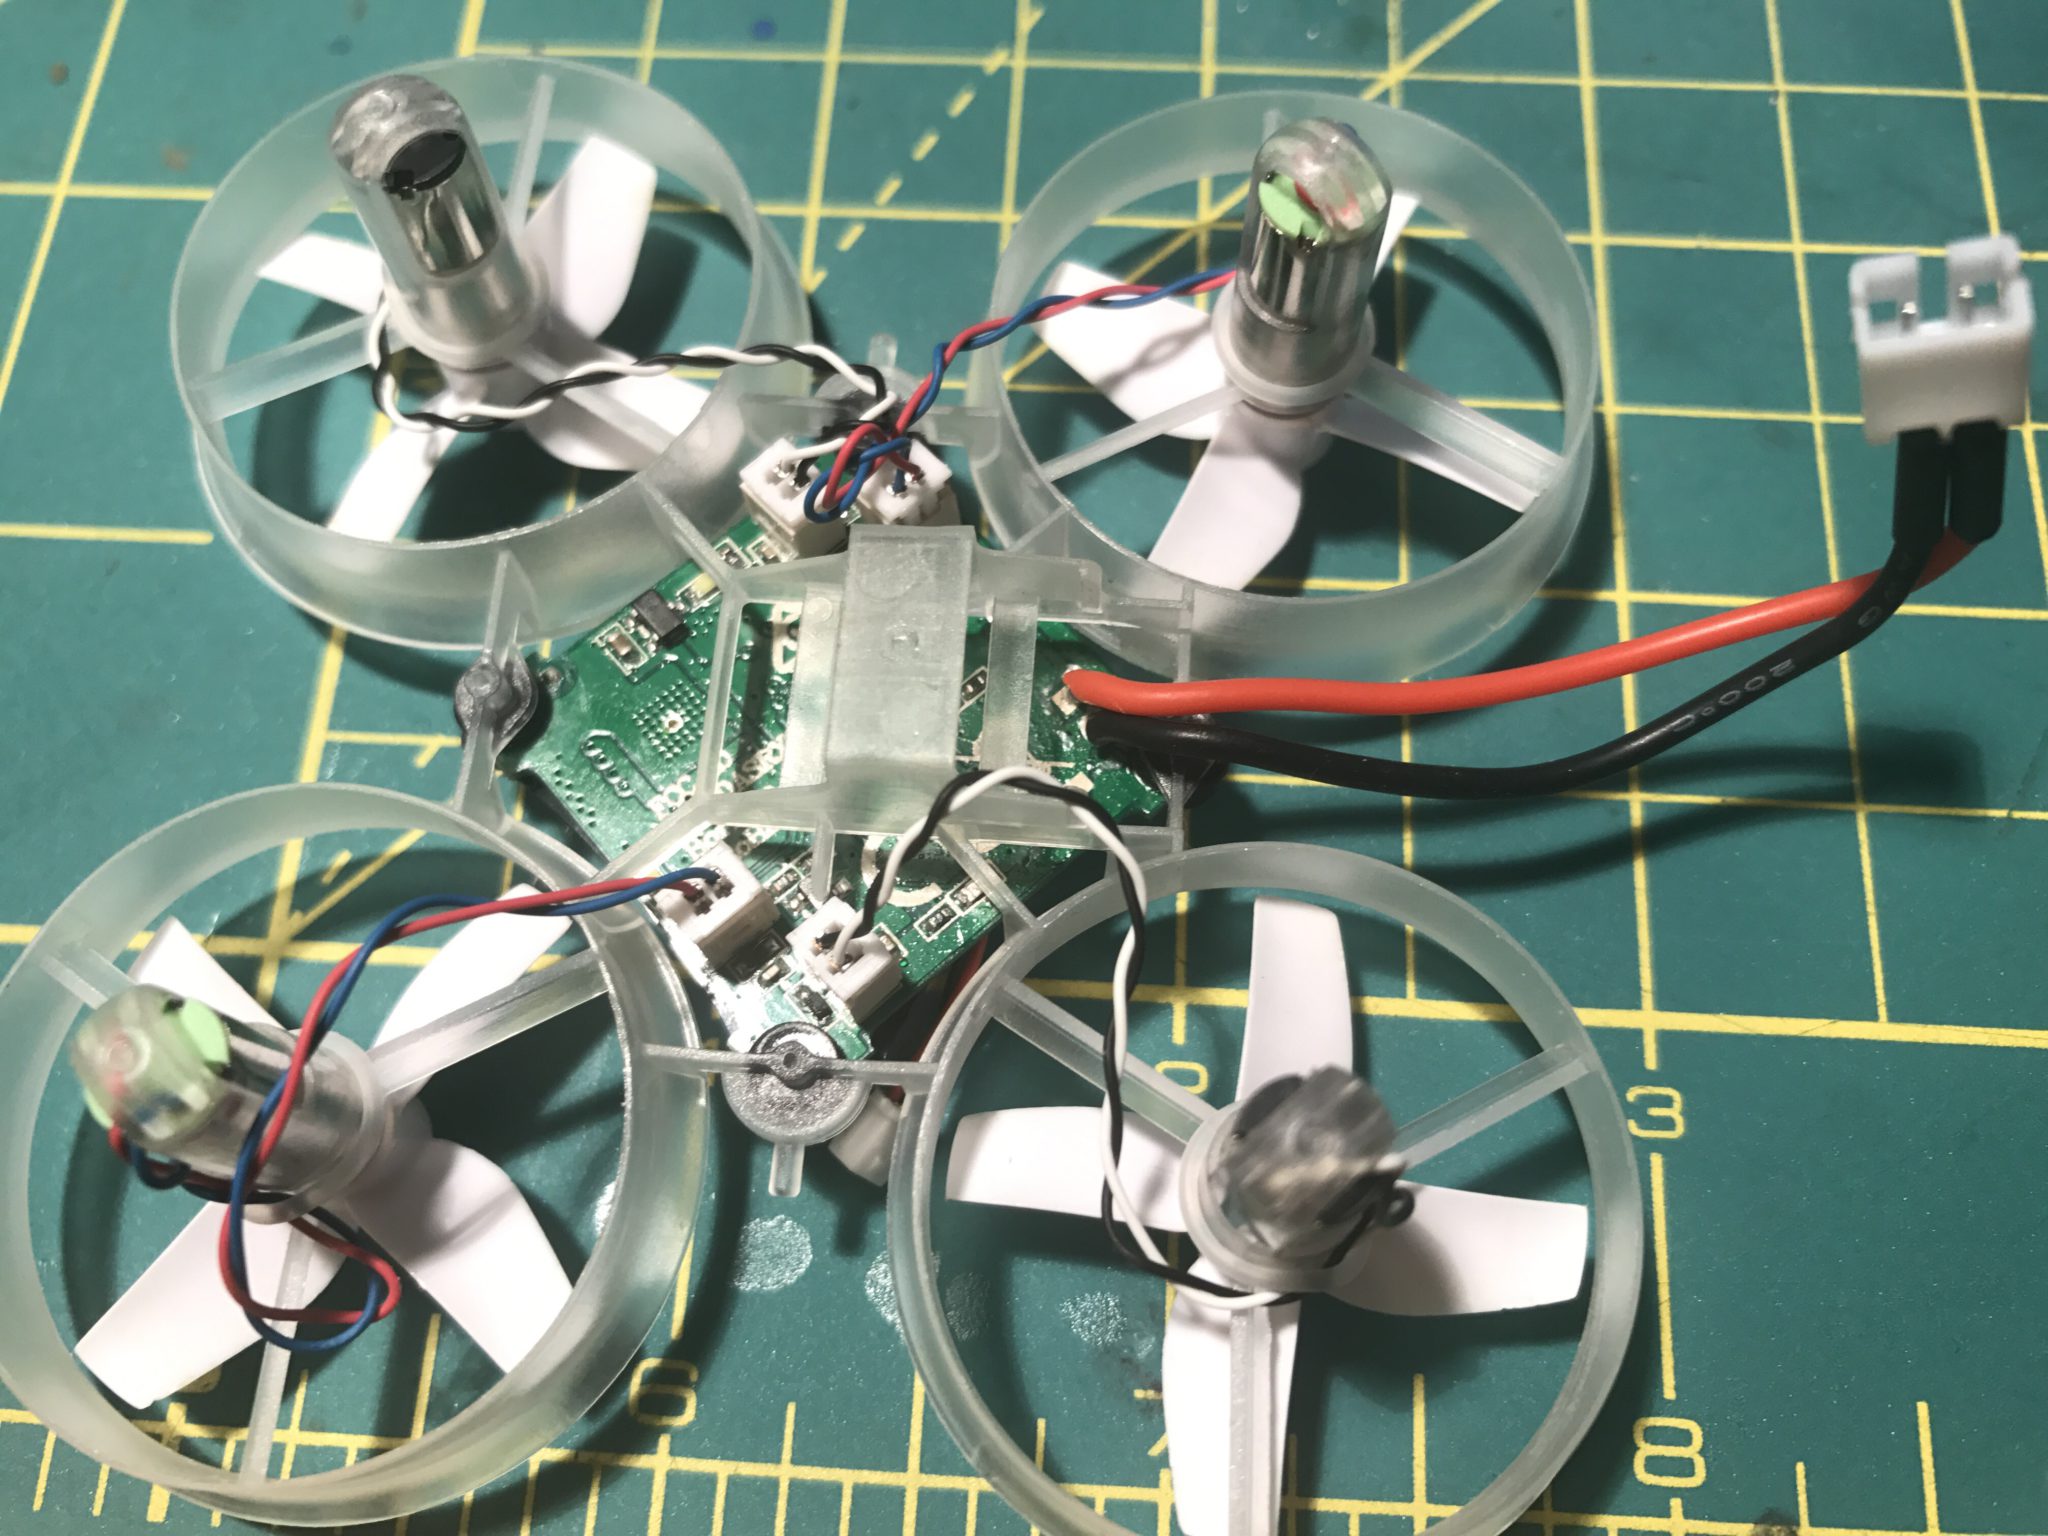
I had been eyeing the Inductrix when it was released in 2015. The “ducted fan” design interested me because it was quiet(er), and because I could bump into things indoors with a better survival rate.
The Tiny Whoop came about from adding an FPV camera, faster motors, and a bigger battery to the Inductrix. The craze is now in full swing. Even the local RC car guys are getting into it. Our local on-road track is also host to the Minnesota Tiny Whoop Racing League. They set up gates on the carpet track on Tuesdays and occasional Saturday to race.
All of that just validated my desire. I ordered up a bind-and-fly Inductrix, a Cricket cam, camera mount, upgraded motors and battery, plus wiring, all from Ready Made RC.
Tiny Whoop & Tiny Wires
My first attempt at a no-solder Tiny Whoop revealed some of the issues inherent to this little guy. At first I left the motors stock, added the camera mount and camera, and used a Y-harness to for a plug-and-play flight.
After getting everything set up, I found out the tiny Y-harness didn’t have thick enough wires to provide the amperage, even to the stock motors. The Inductrix’s low voltage protection would kick in on throttle up, before it left the ground.
So I cut part of the Y-harness and soldered a lead for the camera to the top of the board where the power leads come in. Finally I was able to fly!

It was fun, but the Inductrix seemed a little finicky in the air. Sometimes it would fly good, sometimes it would have a “freak out” and fall out of the sky. Sometimes it would flash from the low voltage trigger much earlier than expected. All of it seemed to happen randomly.
I upgraded the motors thinking maybe they would be more efficient and could provide the extra lift for the camera without drawing more power. It only made the situation worse. Then at Flite Fest, I spoke some Tiny Whoop enthusiasts that told me the weak link is in the micro-JST battery connector.
Power Whoop
The only difference between a Tiny Whoop and a Power Whoop is the Power Whoop uses a different battery connector. The micro-JST is upgraded to a connector labeled as JST-2.0, PH2, JST-PH 2.0, etc. The kicker is you have to get new batteries that have this connector. For me, it wasn’t a big deal because I only had the original Inductrix battery and one upgraded battery – neither of which could sustain a full flight. Some stores (like ReadyMadeRC) don’t even sell micro-JST batteries for the Inductrix, likely because they know they’re problematic.
So I de-soldered the stock battery lead and added a 2mm JST-PH lead that I ordered along with 5 upgraded batteries.

It now flies much more predictably.

[…] the past, but it’s designed to only accept the tiny 70mAh batteries it comes with. After upgrading my Inductrix to a larger power connecter, I had two donor batteries to experiment with… So I took my old Inductrix battery lead and […]