If you have one of the ubiquitous “4 button chargers” you can likely upgrade the firmware to Cheali Charger. You’ll have to do some hacking to get there, but if you want to add features like LiHV and NiZN charging, and have 30 battery memories, it’s the way to go.
Example chargers that are eligible:
- Imax B6
- Imax B6 clone
- Turnigy A-6-10
- HobbyKing ECO 6-10
Disassembly (and Assembly)
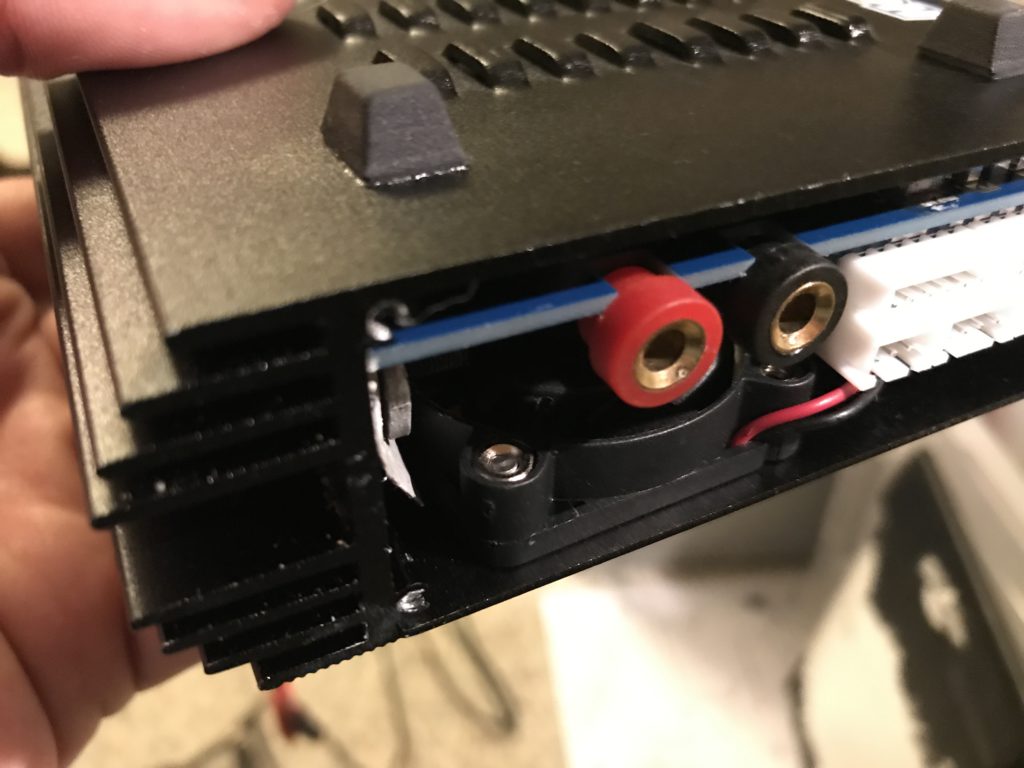
On my HobbyKing ECO 6-10, disassembly (and assembly) is tricky – mostly because of the fan. Once the sides are removed, remove the fan while holding the charger upside-down. This is because the nuts securing the fan will otherwise fall out. They still might fall out if you accidentally press them fully out using the screw that holds them in. It’s a stupid design.
Once the sides are off and the fan is disconnected from the front plate, the front plate can be slid to either side and the ribbon cable for the 4 buttons disconnected from the main board. Then the fan can be unplugged as well.
For assembly (come back here when you’re done flashing). Plug in the fan first, partially slide on the front plate, attach the 4-button ribbon cable, fully slide on the front plate, then re-secure the fan to the front plate – all while holding the darn thing upside down 🙁
Add a 6-pin header
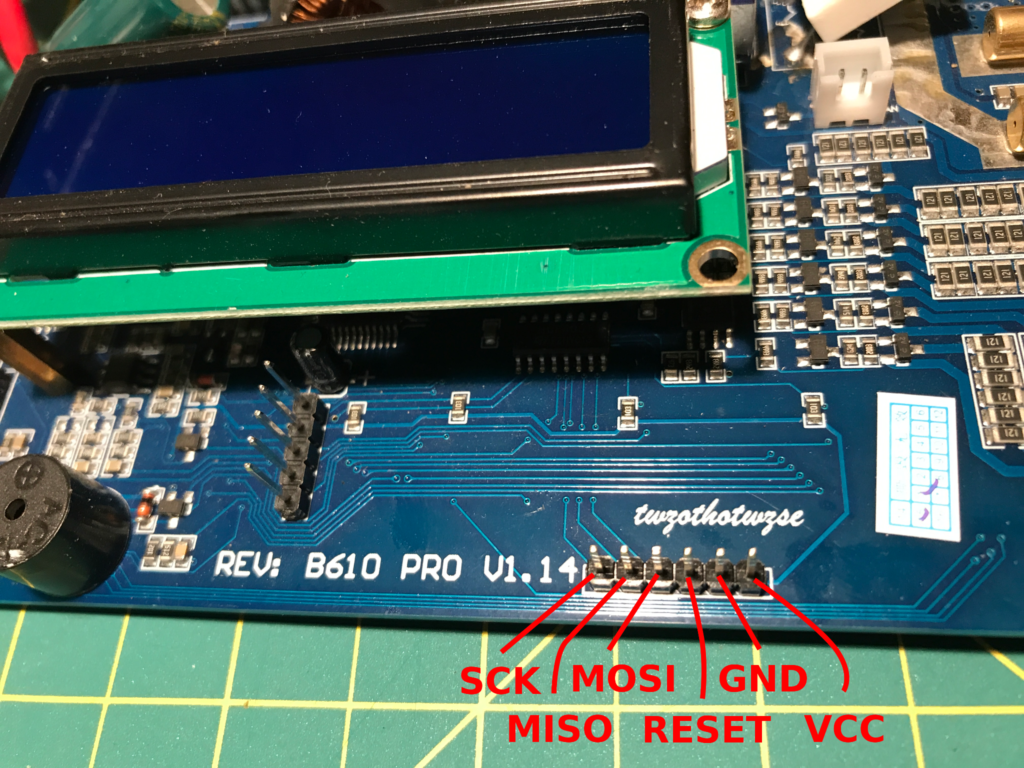
You’ll have to do some soldering. First I added a 6-pin header to my charger board:
I used a voltmeter to verify where the VCC and GND pins were. When you’ve got the right ones it will read 5v on the nose. For mine it was similar to this configuration:
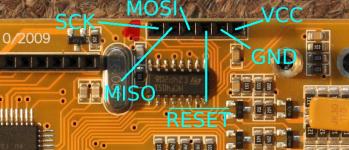
Example pin-out
Make a programming cable
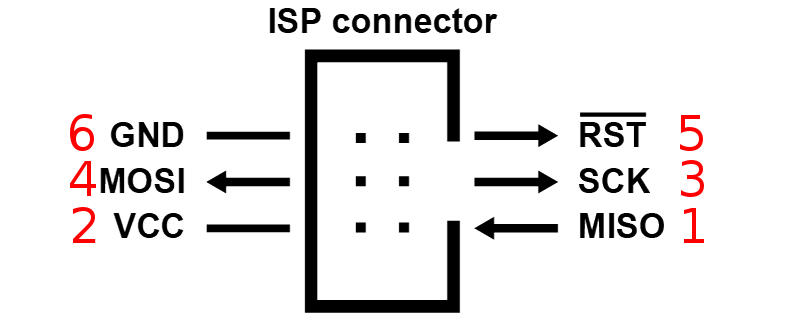
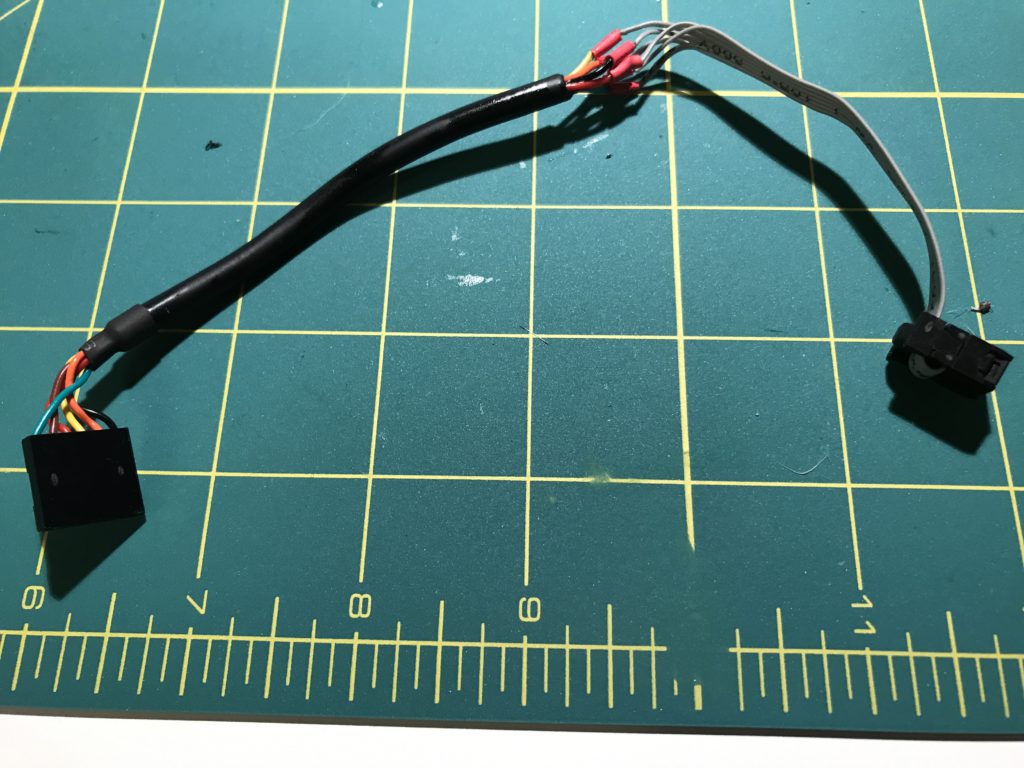
My AVR programmer is a Kingduino USBtinyISP. It has both a 6 and 10-pin IDC headers. Since I added a 6-pin header to the board, I cut a 6-pin IDC cable and soldered it to a 6-pin jumper cable that I also cut in half. I used this diagram to line everything up:
The IDC cable red wire is pin 1 (MISO), then it goes up sequentially from there.
Connect the wires
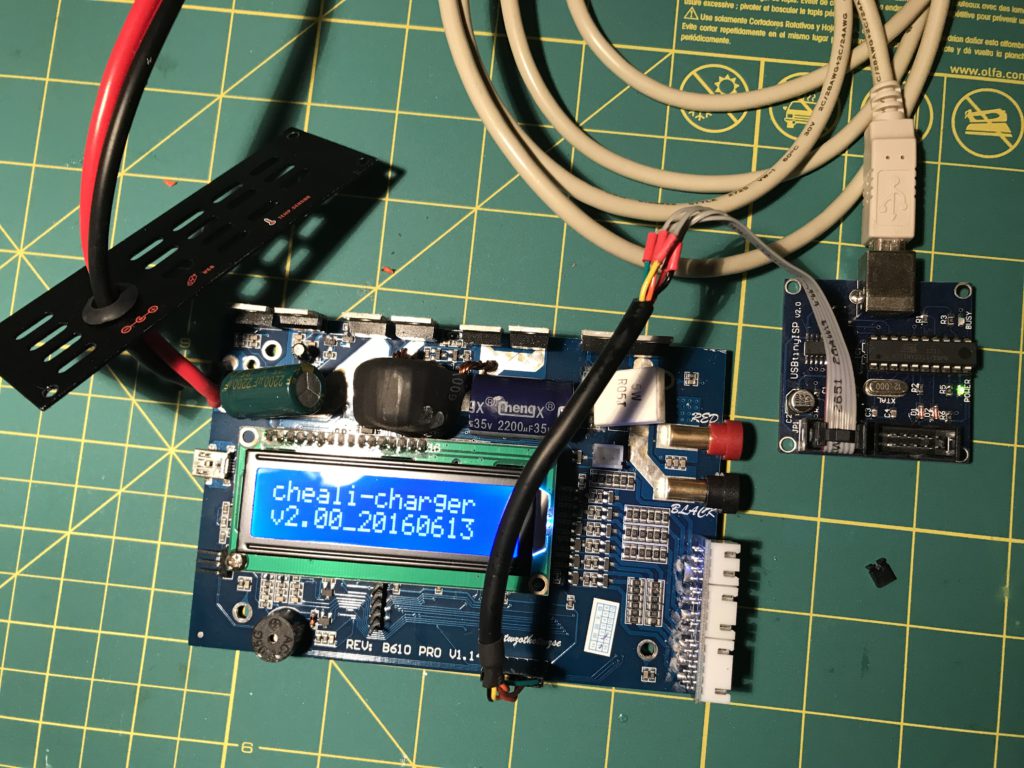
It’s time to set everything up and flash it. The USBtinyISP has a PWR (power) jumper on it which tells it whether or not to send 5v usb power to the device you’re trying to flash – in this case the charger. You can leave the power jumper on and not plug your charger into 12v power, but it will beep at you and read “input voltage error.” I chose to remove the jumper and power the charger normally. Don’t try to power the charger from 12v while the USBtinyISP power jumper is installed or you may let out the magic smoke.
Flash
One everything is hooked up, first make a backup. Reading from the EEPROM is the most sane way to make sure you wired everything up right – before (over)writing your charger firmware 🙂
These commands can be run in the terminal. I’m using Linux, so it will look slightly different if you’re using Windows (use the commands from here).
mkdir -p ~/Documents/A610_orig_firmware
cd ~/Documents/A610_orig_firmware
sudo avrdude -patmega32 -cusbtiny -Uflash:r:flash.hex:r -Ulfuse:r:lfuse.hex:r -Uhfuse:r:hfuse.hex:r -Ueeprom:r:eeprom.hex:r
Once you’ve made a successful backup, you can download the cheali firmwares and write the appropriate one to your charger.
git clone https://github.com/stawel/cheali-charger.git
cd cheali-charger/hex/
sudo avrdude -patmega32 -cusbtiny -Uflash:w:cheali-charger-Turnigy-A-6-10-200W_2.00-e10.3.12-20160613_atmega32.hex:a
The exact hex file you flash to your charger with will depend on what type of charger you have. Make sure to read the flashing reference table to be sure you are using the right firmware for your charger.
I had a weird issue where my charger was initially working fine after upgrading to cheali, but then would have a “freak-out” after it seemed to warm-up:
I let it rest for a while and then after looking at the original eeprom fuse settings decided to update them to the recommended cheali-charger values from the troubleshooting section.
sudo avrdude -patmega32 -cusbtiny -Uhfuse:w:0xc5:m -Ulfuse:w:0x3f:m
I reflashed after setting the fuses to the recommended values and things seem to be working more reliably.
Impressions
You must calibrate your charger for accurate charging. Use the highest cell count LiPo you have, and use a multimeter you trust. If you have a multimeter that goes to 3 decimal places for voltage readings, that’s awesome, but even the cheali firmware author says that the millivolt (3rd decimal place) is both inaccurate and insignificant on these cheap chargers, so don’t put too much time into it. Your multimeter should allow at least 1-amp of current testing.
Charging itself seems to take a little longer with the cheali firmware. The charging strategies used are linked to in their documentation and seem to be a bit more advanced. For instance, cell balancing seems to be a more thorough process that can take place independently or in conjunction with charge, discharge, and storage. Whether or not it has an effect on the lifetime of a given battery is unknown to me.
Mostly, I’m using cheali-charger to charge my LiHV Power Whoop batteries to 4.35v which I was unable to do before. 🔌

[…] post Cheali Charger – free 4-button charger upgrade appeared first on […]