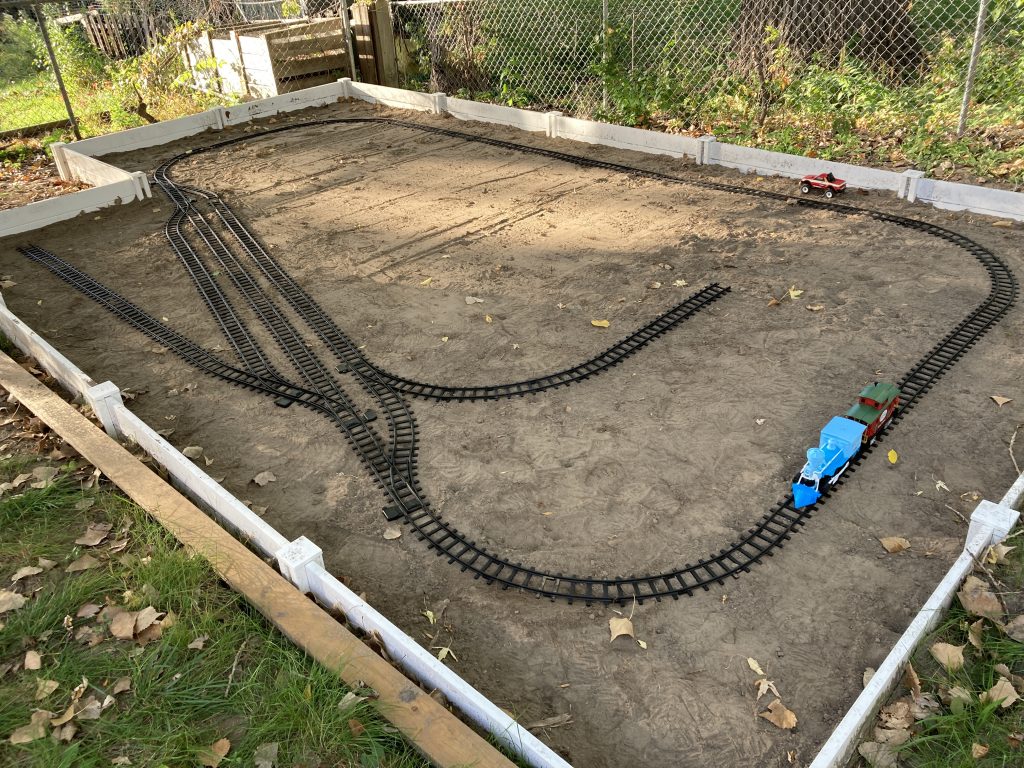
With my area leveled, I laid the track out to make sure everything would fit. This was when I discovered I had to make a few minor changes to my design.
You can’t have a left turnout switch immediately following a right turnout switch. This is because the manual switch mechanism on the left-hand switch will interfere with the track coming off the right turnout. You have to put one straight section in-between the switches. You can see the first left-hand turnout operation switch between the tracks here:

You can also probably spot my SCX24 Subaru brat up there. I wanted to make sure there was room for a small fire road between the tracks and the garden edge.
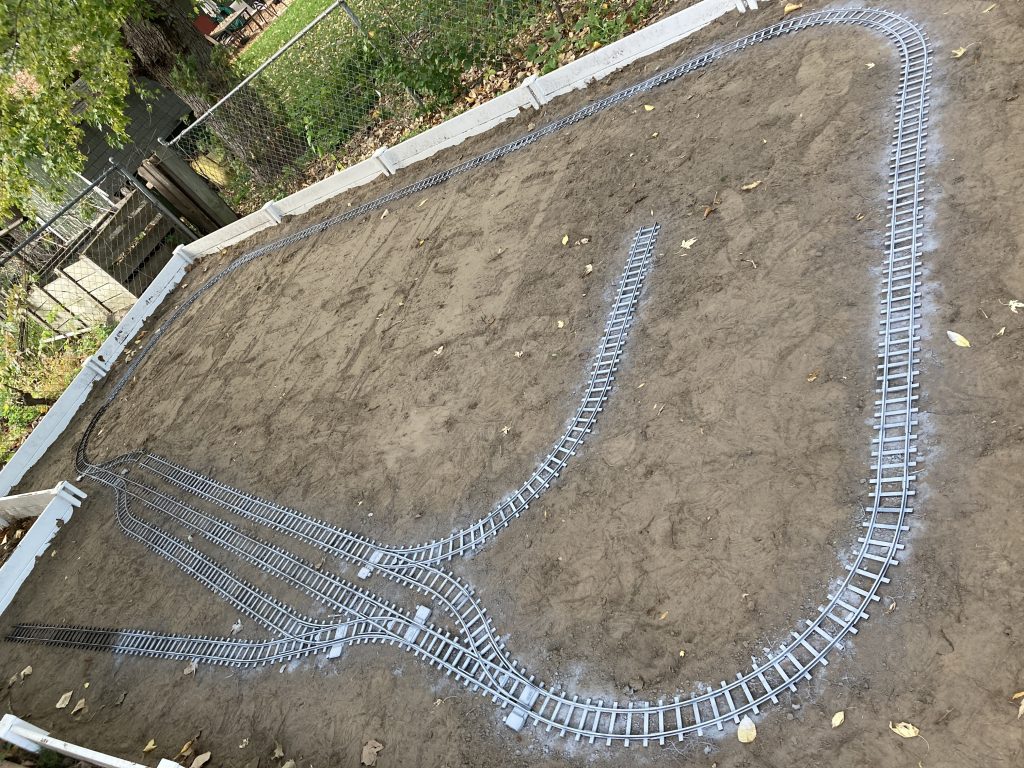
In garden railroad modeling books I’ve read, people will lay tracks and then cover them with white sand to mark where the tracks go on the ground. I needed to paint a base coat of primer to the tracks for UV protection. I just used spray paint primer on them in place and used the over spray on the ground as the indicator of where the tracks would be.
I used a silvery-gray since this color will be the color of the rails. Later I’ll add brown to the ties.

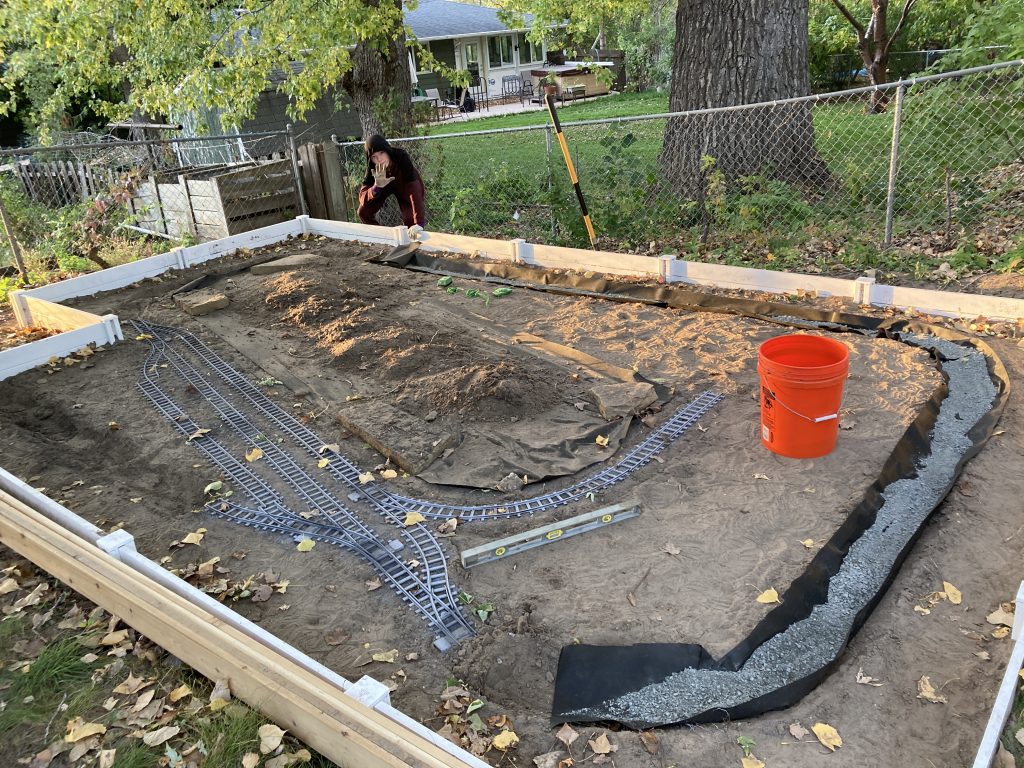
Then my son and I removed the tracks in sections and dug a 2″x6″ trench where the over spray was. I bought a 4′ wide roll of landscape fabric and cut a 12-foot length into four 12″ strips. These strips would go into the trench and have an inch of crusher fines added to fill the bottom of the trench.
The idea is that the fabric will contain the roadbed and keep out weeds. The crusher fines have sharp edges and will interlock to provide a nice level surface which will also drain well.

Later, on top of the 1″ bed of crusher fines, we’ll add a 1″x4″ cedar board that the tracks will be mounted to for smooth operation. For the curves, 1/2″ treated plywood will be used on top of a slightly thicker layer of crusher fines. Later, we’ll top the tracks and wood off with more crusher fines as ballast.
Side note about crusher fines: think about how much you’ll need and where you’re going to put it.
With my 2″x6″ trench and roughly 80ft. of track, I estimated I’d need about .25 cubic yards of material. My local landscape supply store sells them in 1/3 cubic yard amounts. I opted for 2/3 yard so I could have some extra, in retrospect 1/3 would have been more than enough (and less work).
Think about where you’ll put it because the delivery driver will likely have to put it in your driveway. For me, this blocked one side of our garage from being accessible. To move the rock to the backyard takes work and time – and I was rushing to move it to beat the snow.
Costs
- (2) Spray Paint Primer – $12
- (1) 4’x80′ Weed Barrier – $17
- 2/3 Cubic yard of Crusher Fines / Driveway Trap – $109 delivered
With the previous costs from design and bed install ($506), we’re now up to $644.
[…] methods, I wanted to mount my track to boards for smooth operation. We’ll use the crusher fines as a base under the boards, and later on the top and sides as […]