What’s a Backslash, besides this: “\”? It’s a nickname for a RC buggy made from the chassis of a Traxxas Slash. Some people call it a Backslash, some people call it a Sluggy (Slash + Buggy). Whatever you call it, the original 4WD variation is the most popular because it’s extremely simple to mount an 1/8 scale wing to the shock tower and change the body to a 1/8 scale buggy one.
I wanted to do one for my 2WD Slash. There are a couple of extra hurdles on the 2WD, like the gearbox being behind the shock tower, but it still seemed do-able. So here is what I did to mount an 1/8 scale wing to my 2WD Slash.
Parts
- Traxxas Rear Shock Tower – TRA3638 (optional)
- HPI Trophy 3.5 Wing Mount – #101013
- HPI Trophy 3.5 Wing – #101124 (black) or #101114 (white)
OR any 1/8 scale wing – I chose a white Pro-Line Trifecta wing
Additional Hardware
- (6) 3mm lock nuts
- (4) 3mm washers
- (2) 3x18mm button head screws (wing cross bar) – TRA2583
- (2) 3x23mm button head screws (wing mount top) – TRA2591
- (2) 3x16mm button head screws (wing mount bottom) – ASC89203
- (2) 3x12mm button head screws (wing fasteners) – TRA2578
Tools
You’ll need your standard set of RC tools, plus a drill and these bits:
- 3mm drill bit
- 7mm drill bit – optional, only needed if you didn’t buy the HPI Trophy wing.
I’ve been able to find metric bits at my local hardware store, but if you can’t the standard equivalents should be fine – 1/8″ and 9/32″ respectively. You’ll also need a dremel or cutting device to trim some of the wing mount plastic where it interferes with the gear box.
Wing Mount Holes
Assemble the wing mount. Unfortunately the HPI wing mount plastic comes with none of the needed fastening hardware. From the Trophy 3.5 Manual I was able to determine that it would need (4) 3x18mm button head screws to attach the crossbar, and (4) 3mm lock nuts pressed into the recesses.
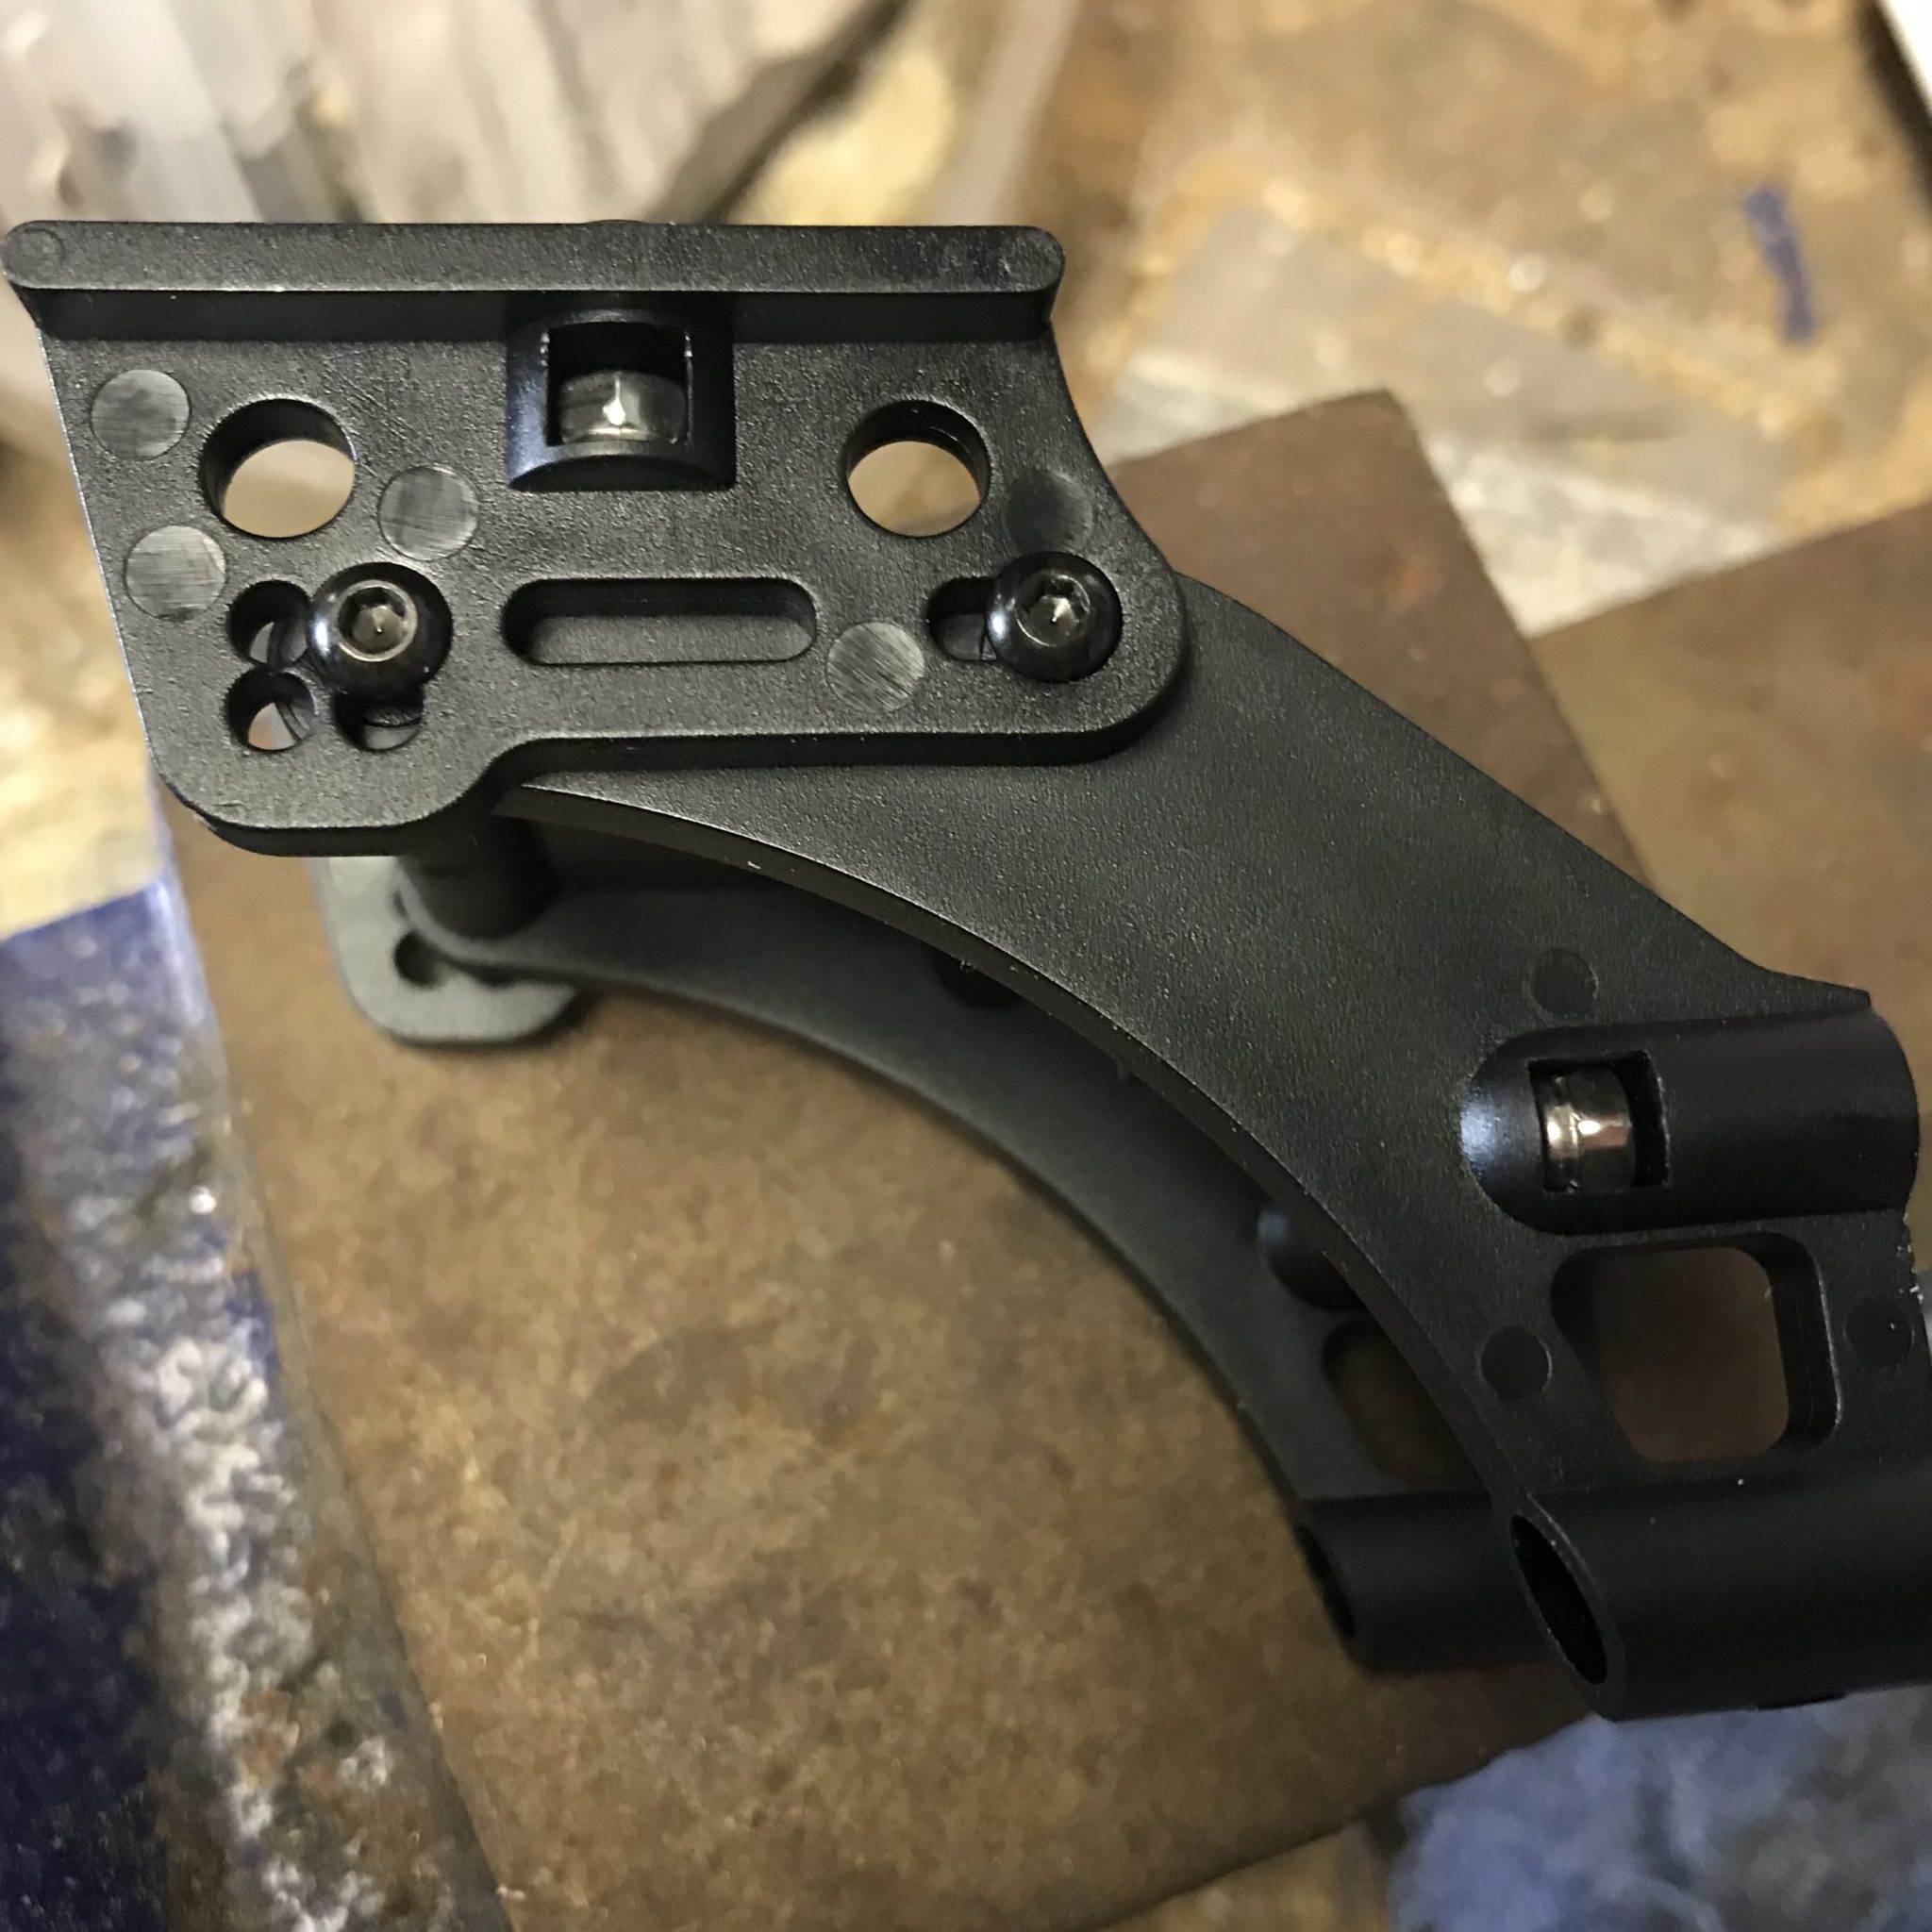
I suggest buying a new rear shock tower because 1) it’s only $5 and 2) we’re going to drill some holes in it that will prevent you from being able to reattach the stock body mount.
The HPI wing mount is the exact width as the body post holes on the Traxxas rear shock tower. We’ll be able to use the top set of holes to fasten a wing mount.
Drill out the top body post fastener holes with a 3mm drill bit.
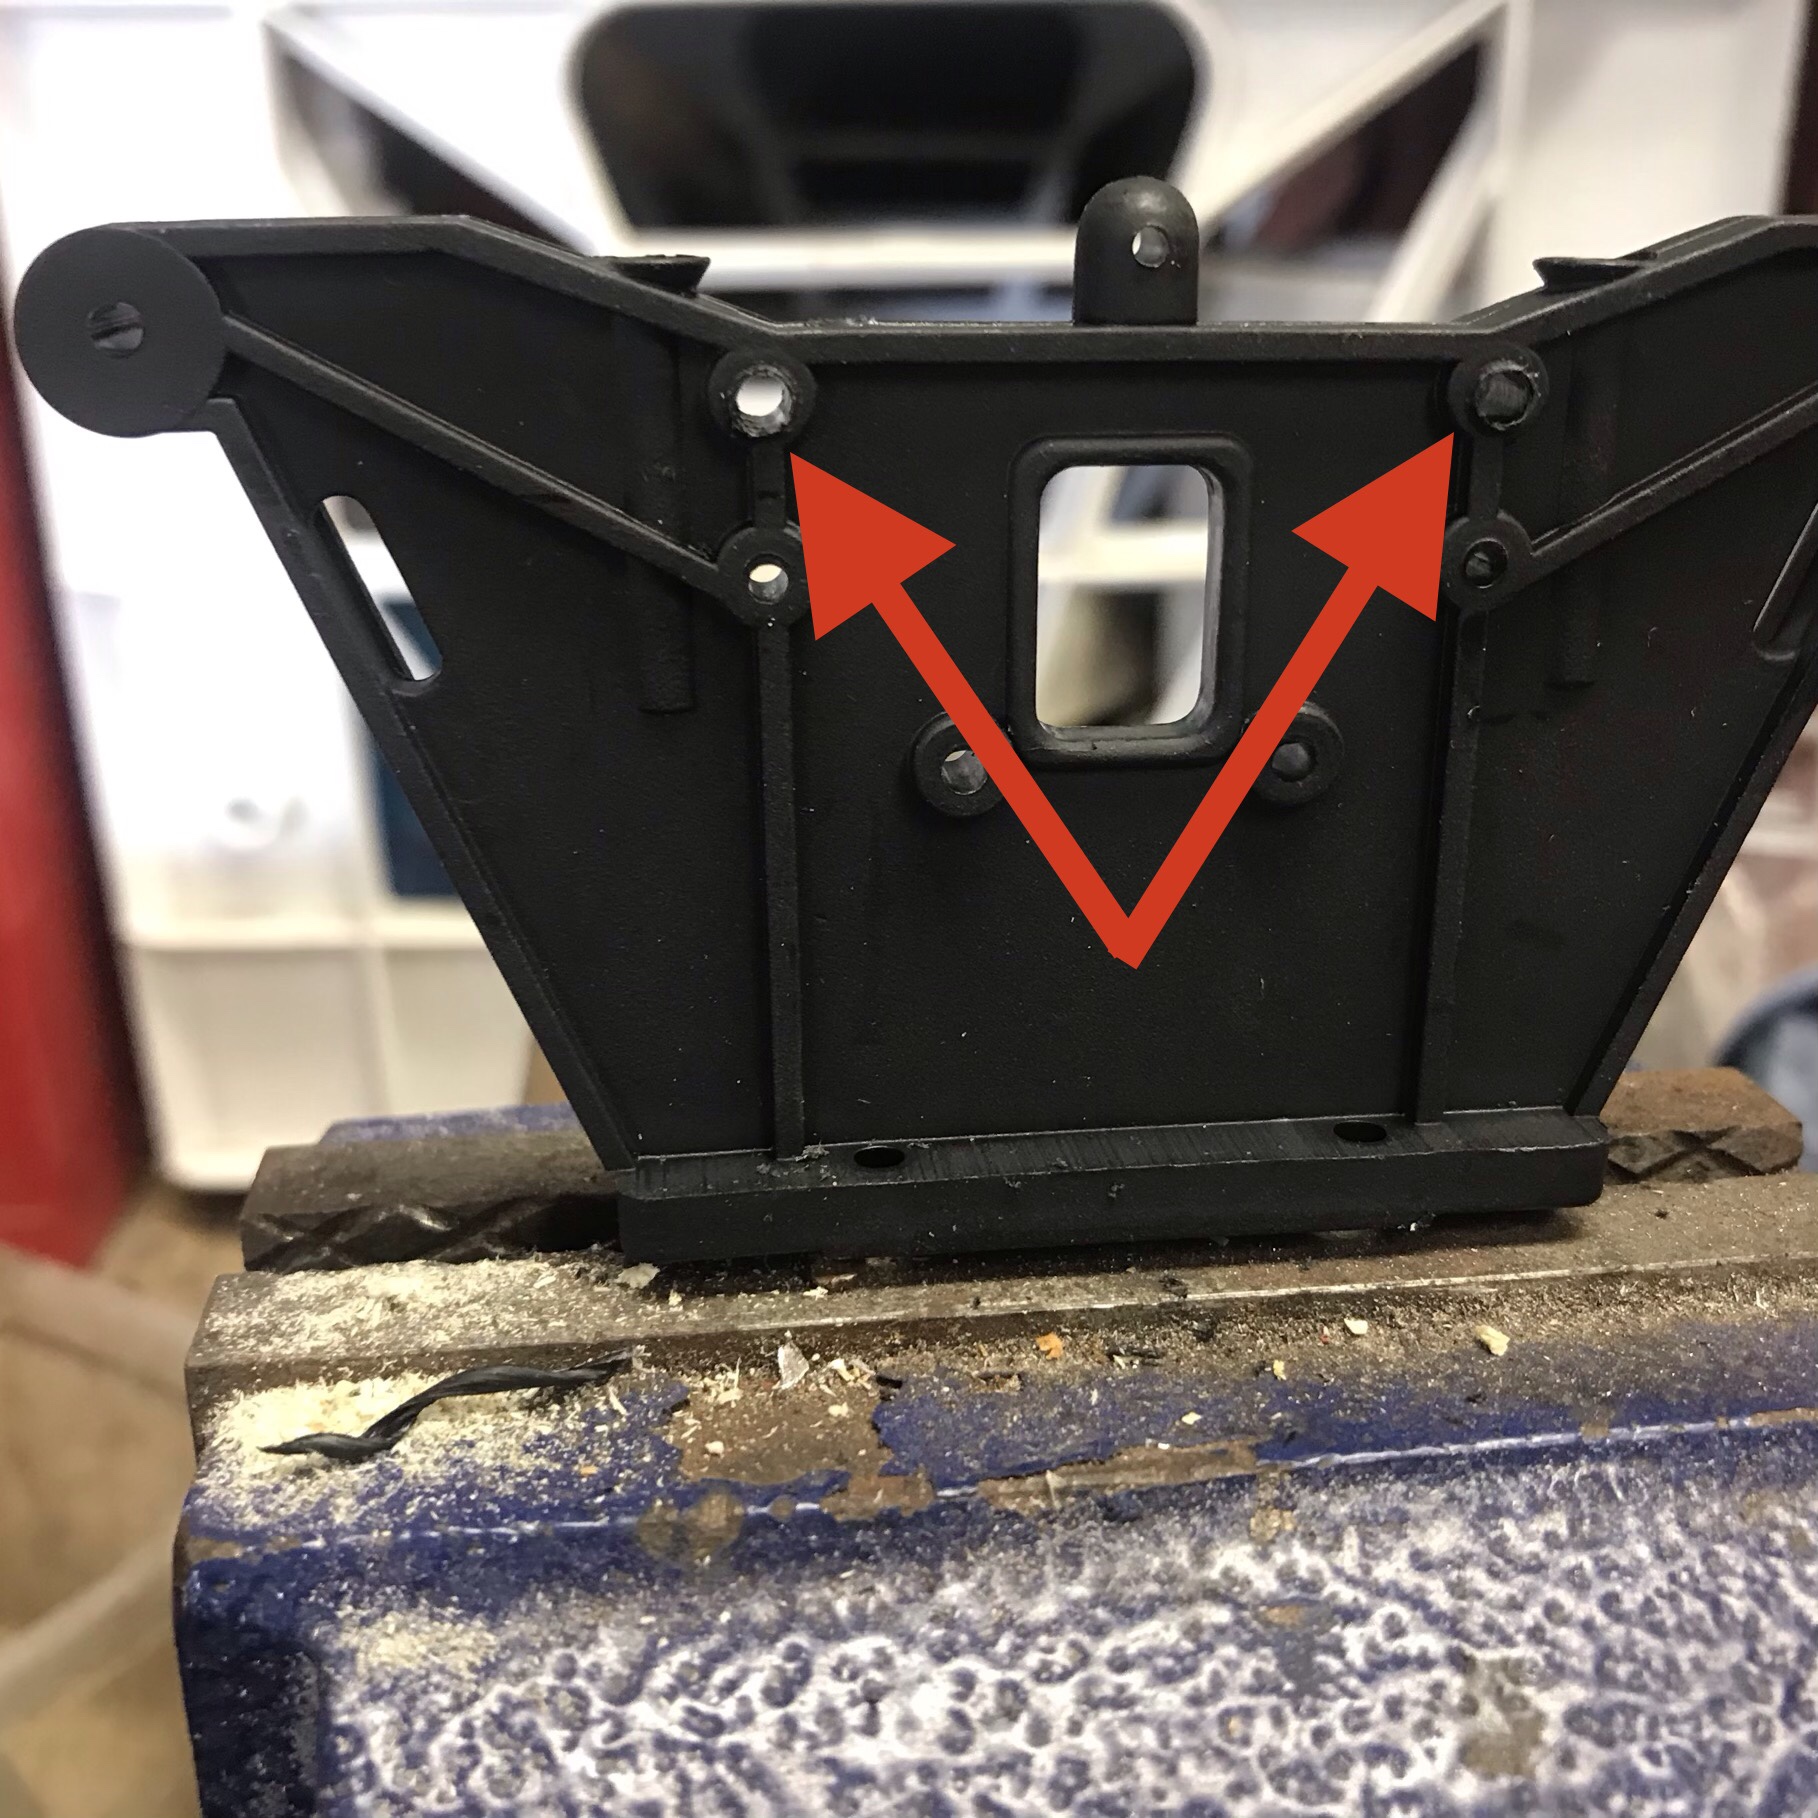
Temporarily fasten the wing mount to the shock tower using the 3x23mm button head screws and washers.
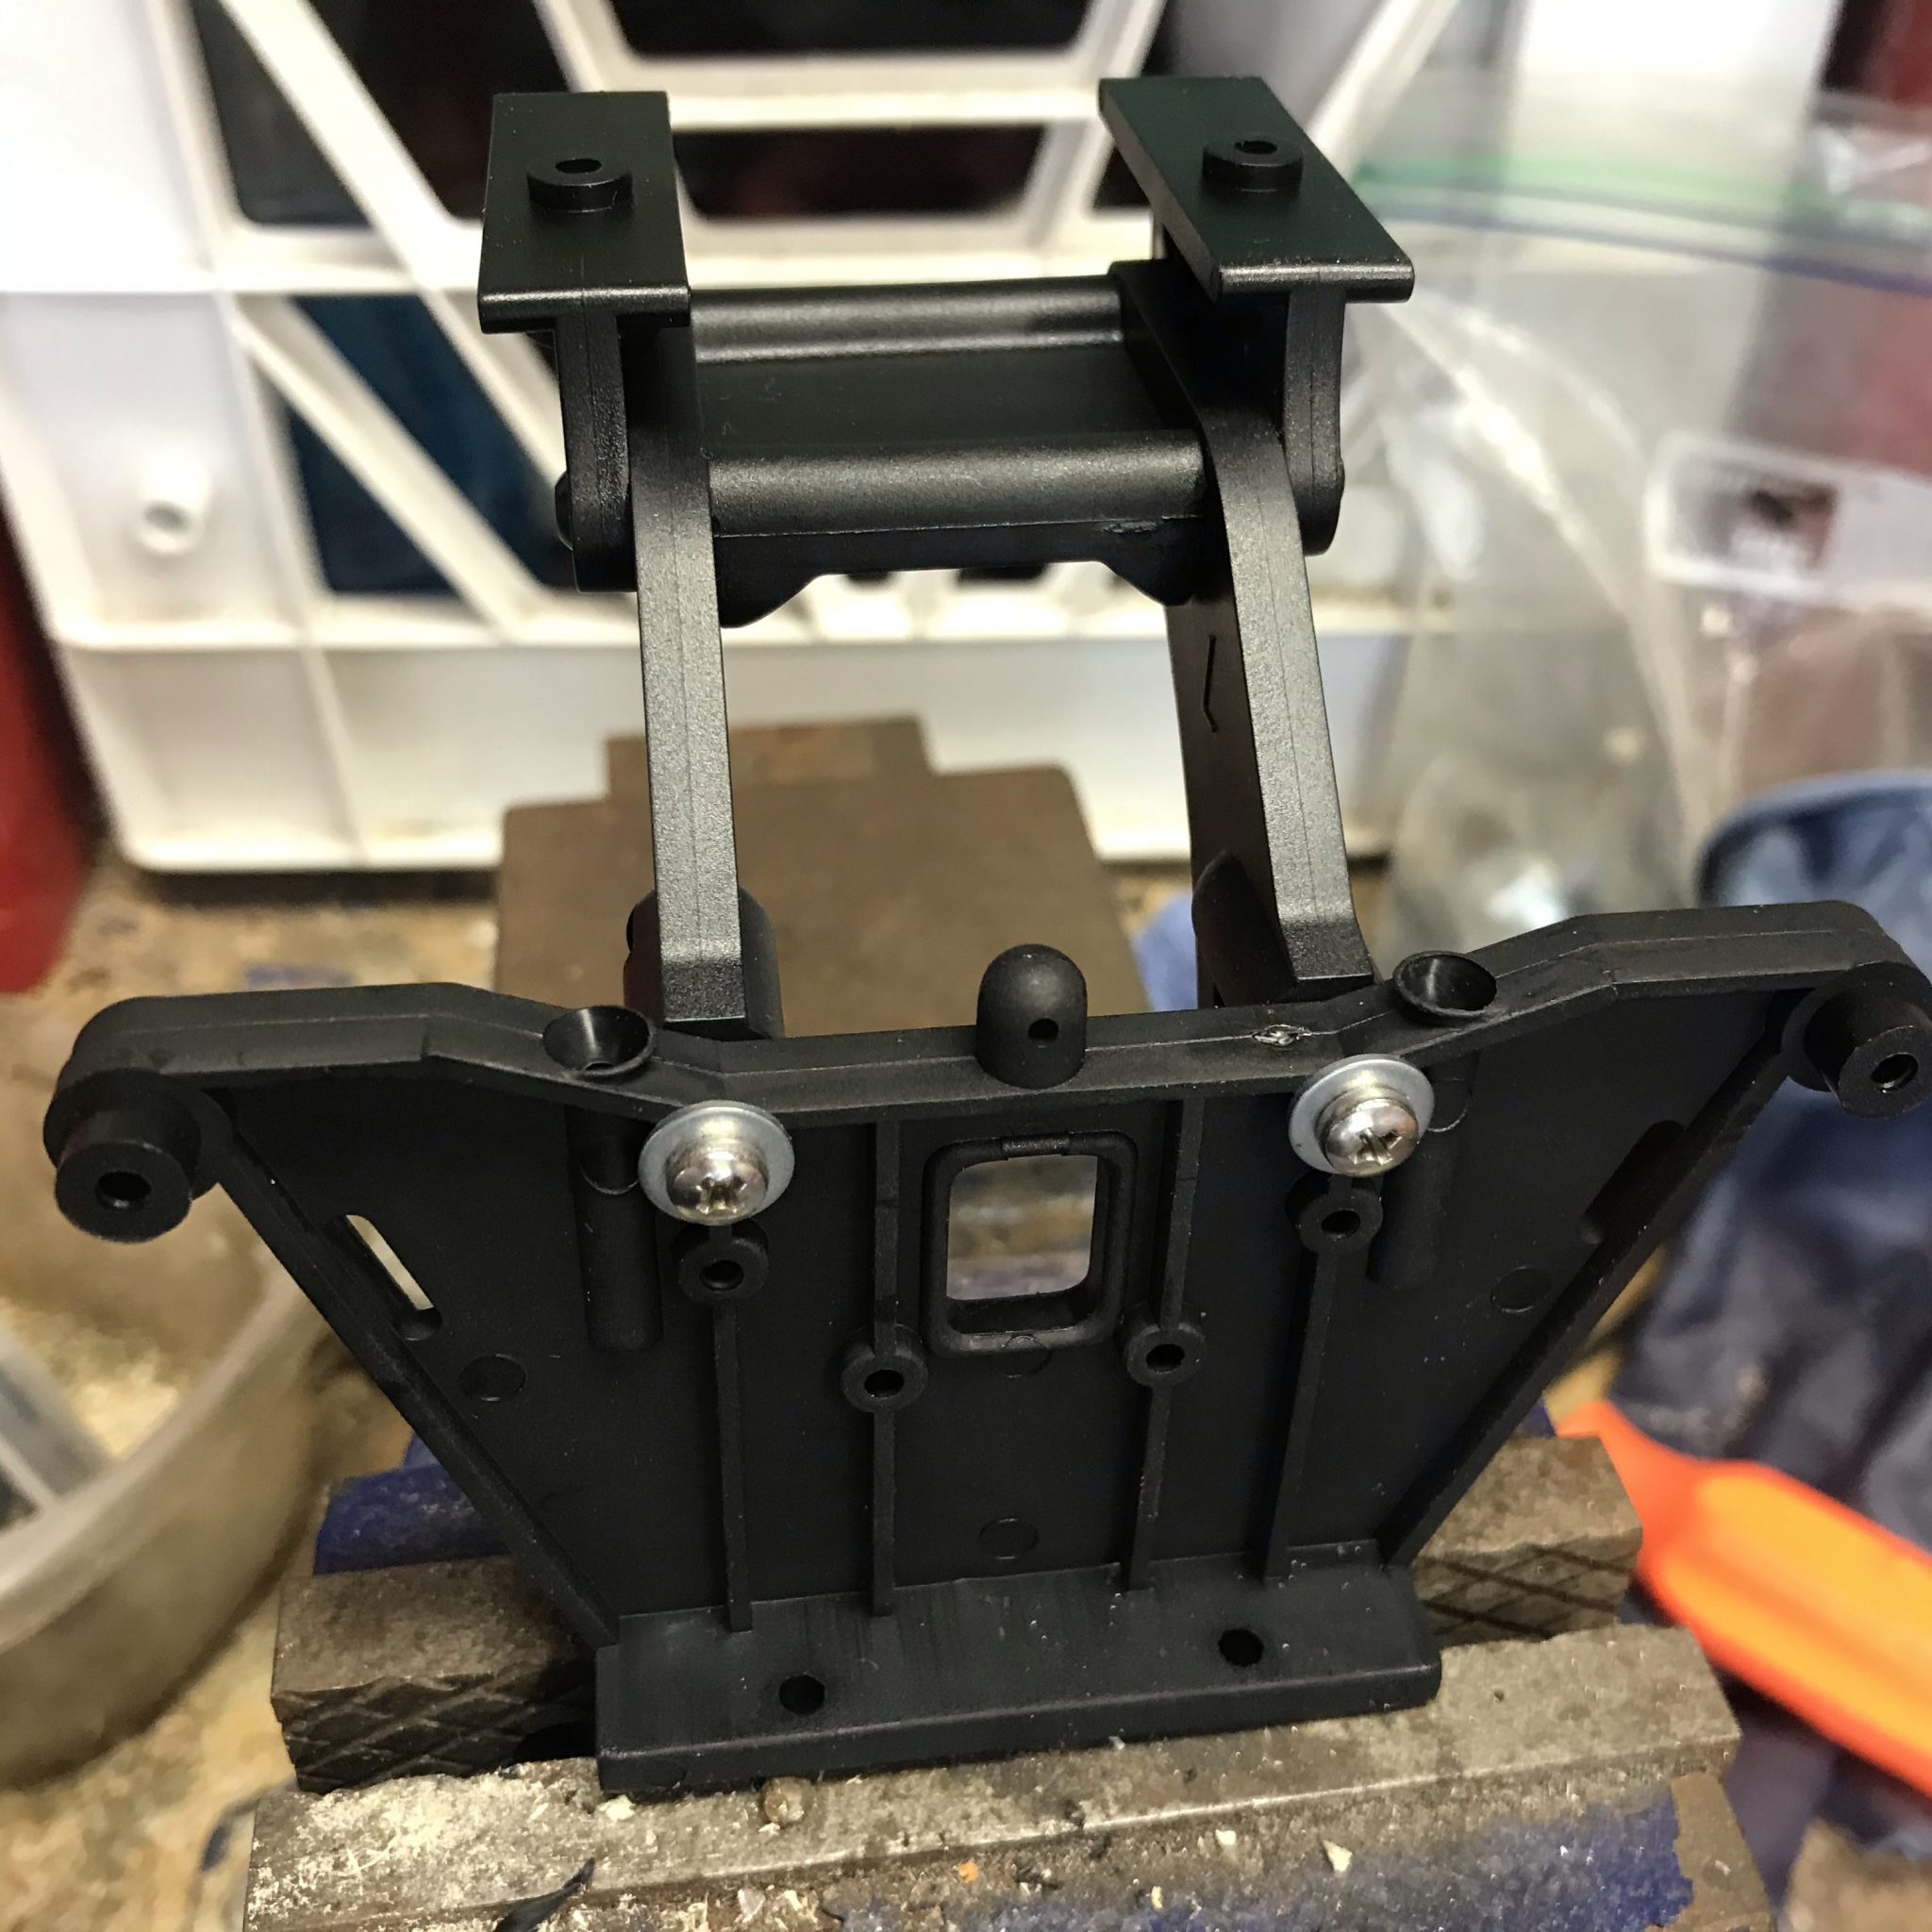
Turn the mount around and use the wing mount as a guide to drill two new holes through the lower wing mount and the shock tower.
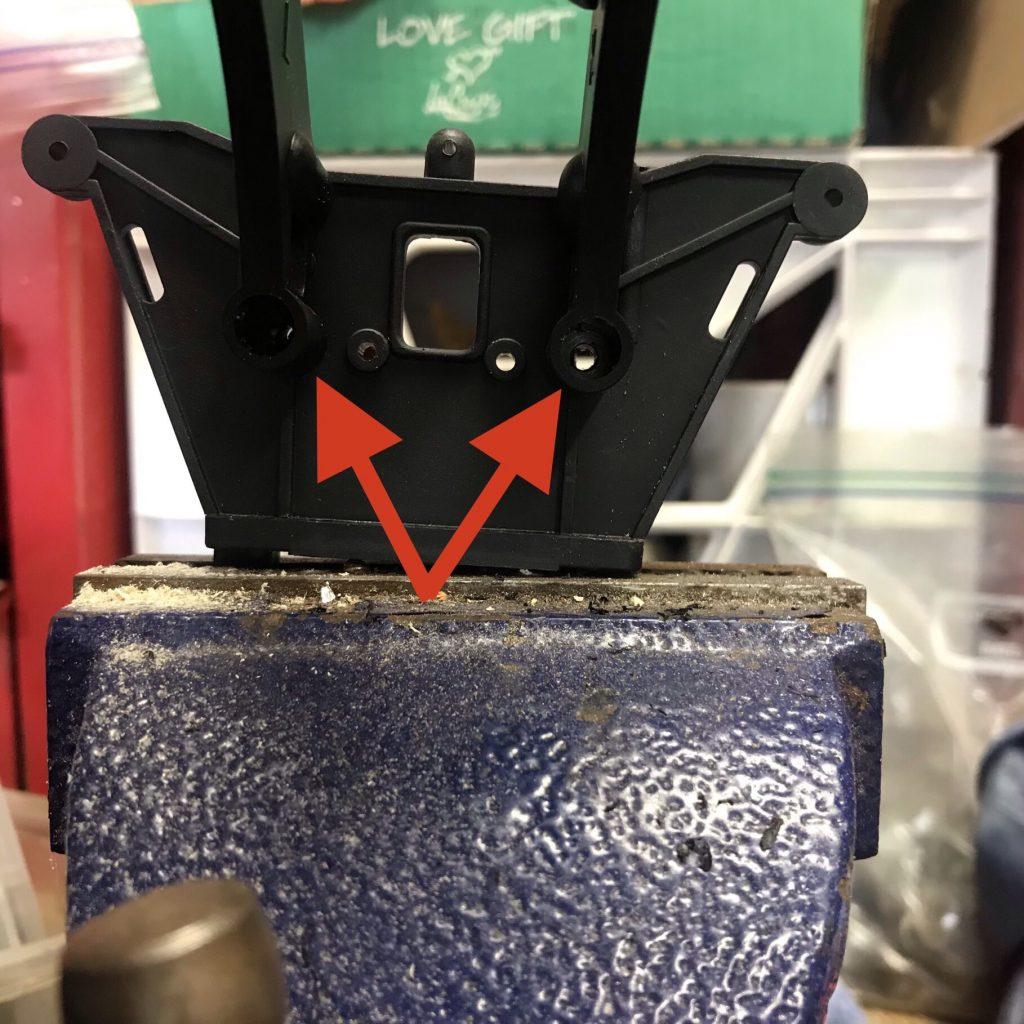
Use the 3x16mm screws to come through the back of the wing mount and secure them to the shock tower with the remaining washers and lock nuts.
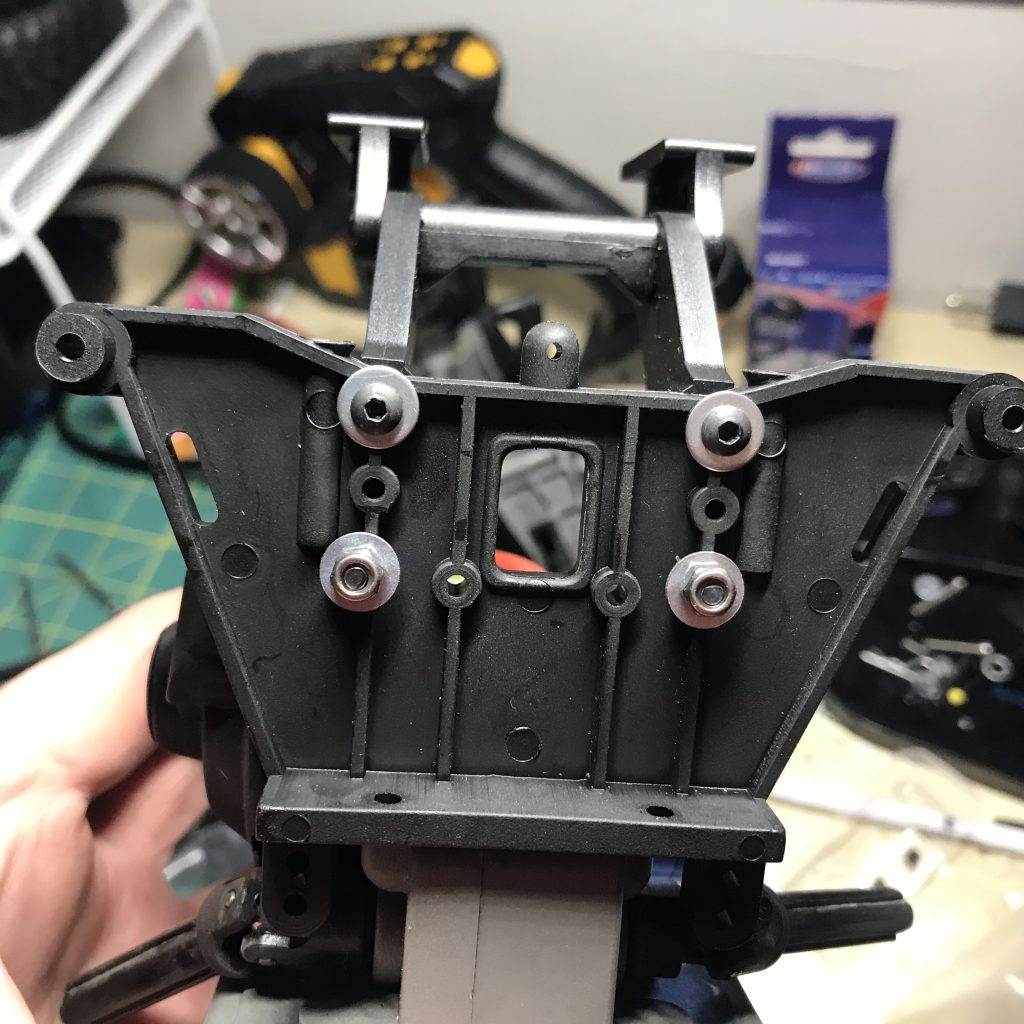
Gearbox Clearance
You won’t be able to fasten the shock tower and wing mount to the gear box yet, because the spur gear section of the gearbox hits the new wing mount.
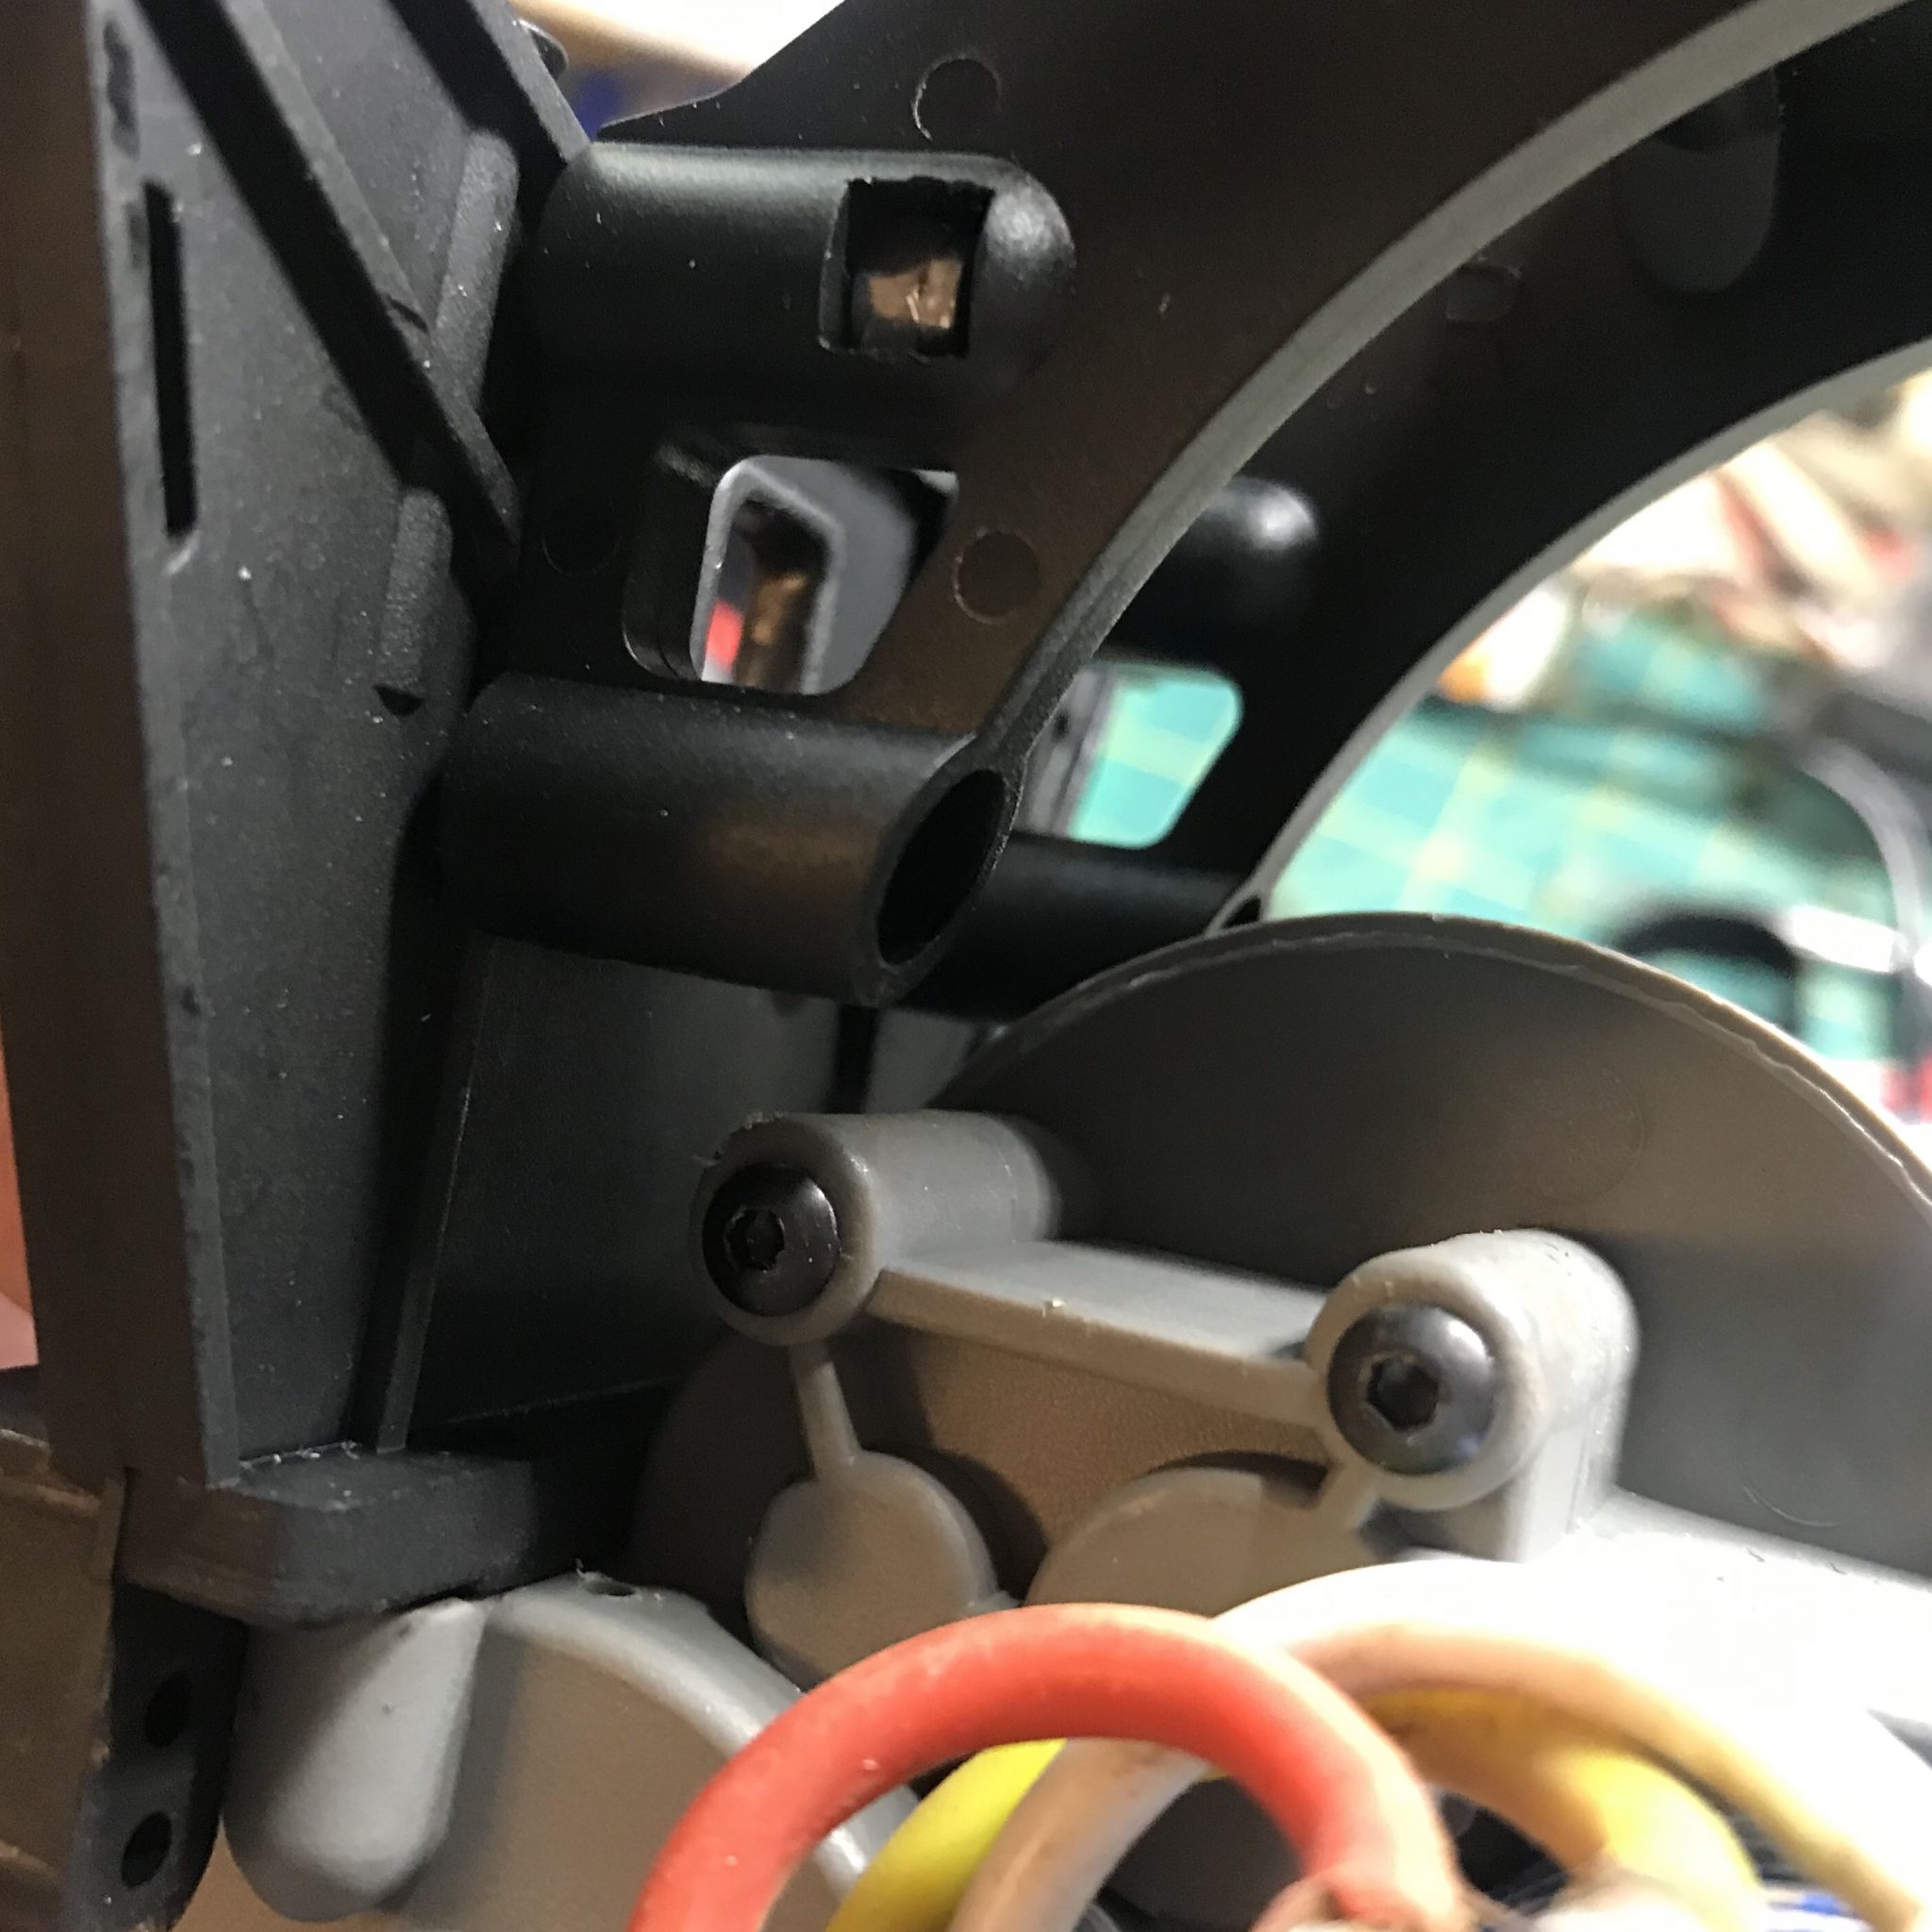
While holding the shock tower with wing mount up to my gear box, I drew a cut line on the right-side wing mount.
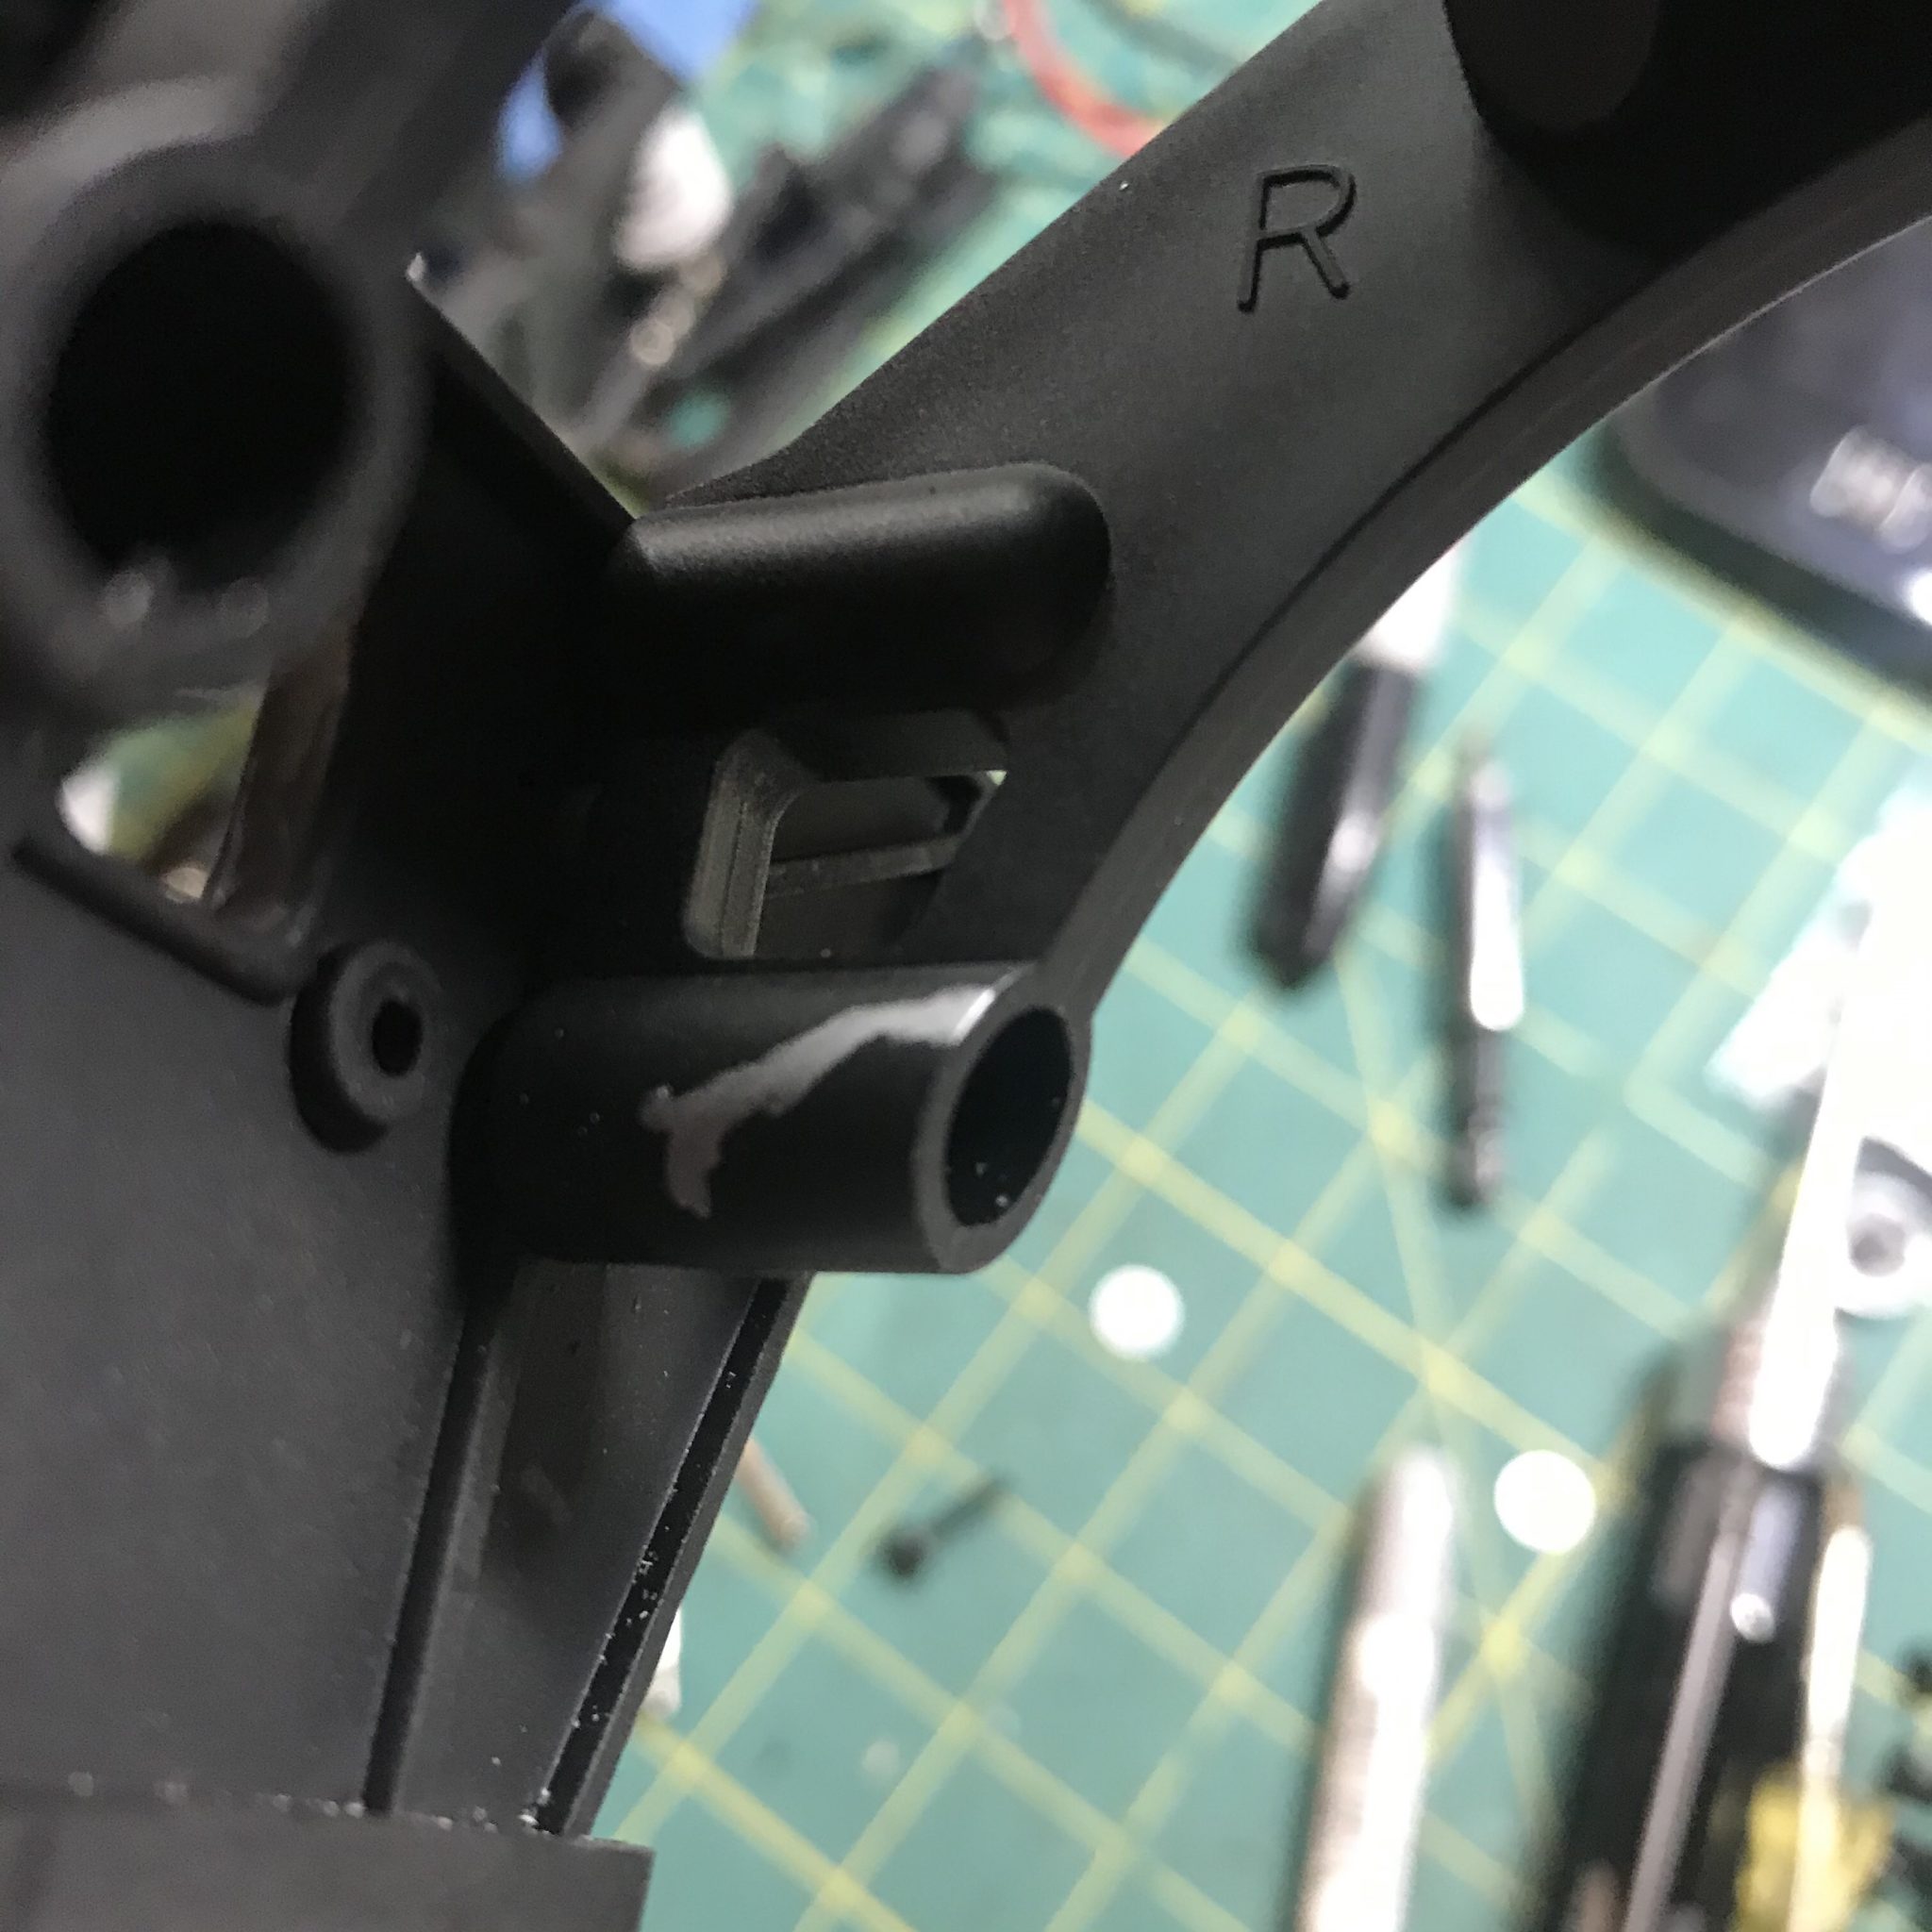
I used a dremel to cut the plastic. I had to cut almost all the way down to the lower wing mount screw because of the part that sticks out from the gear cover. We’ll see if the strength of the mount is compromised to the point of failure.
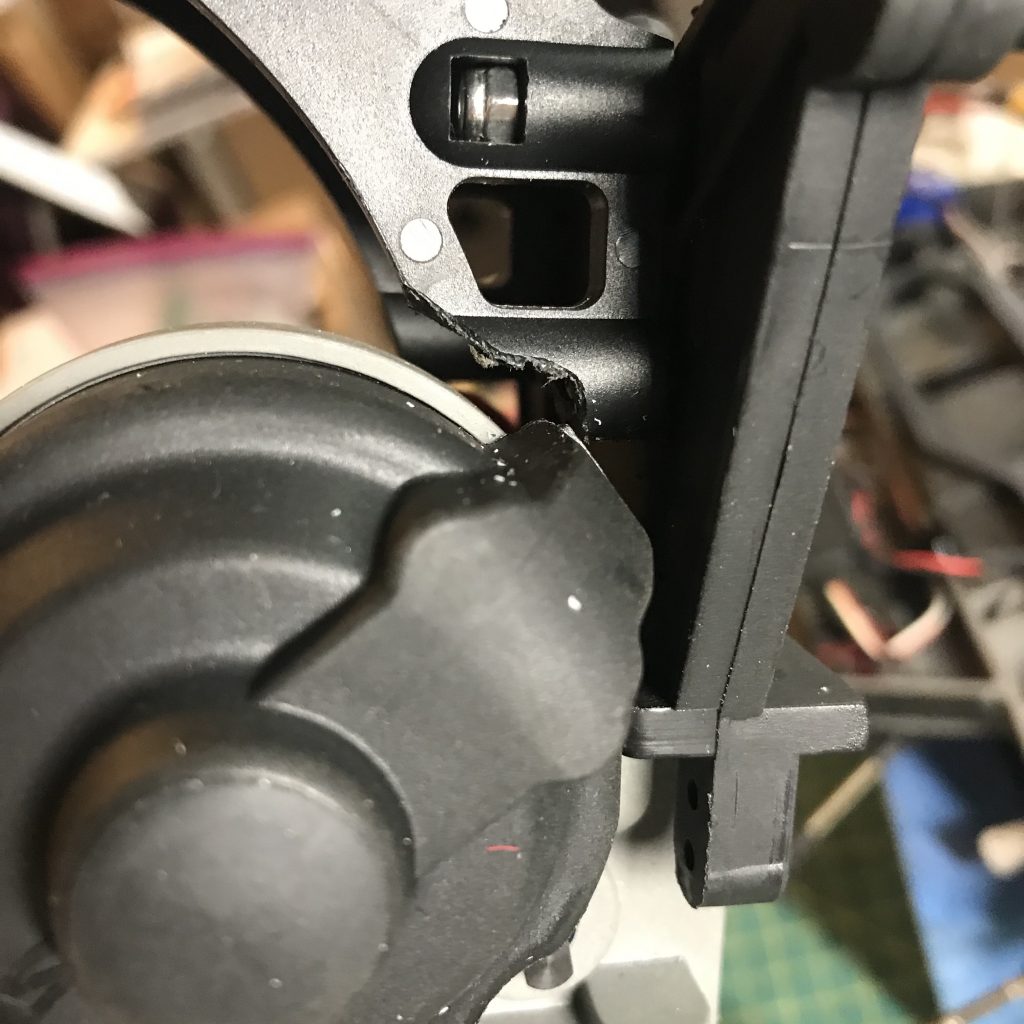
Pro-tip: before attaching the shock tower to the gear box, attach the rear upper camber links as the screws go in from the back and cannot be reached once the shock tower has been attached to the gearbox.
Attach the wing
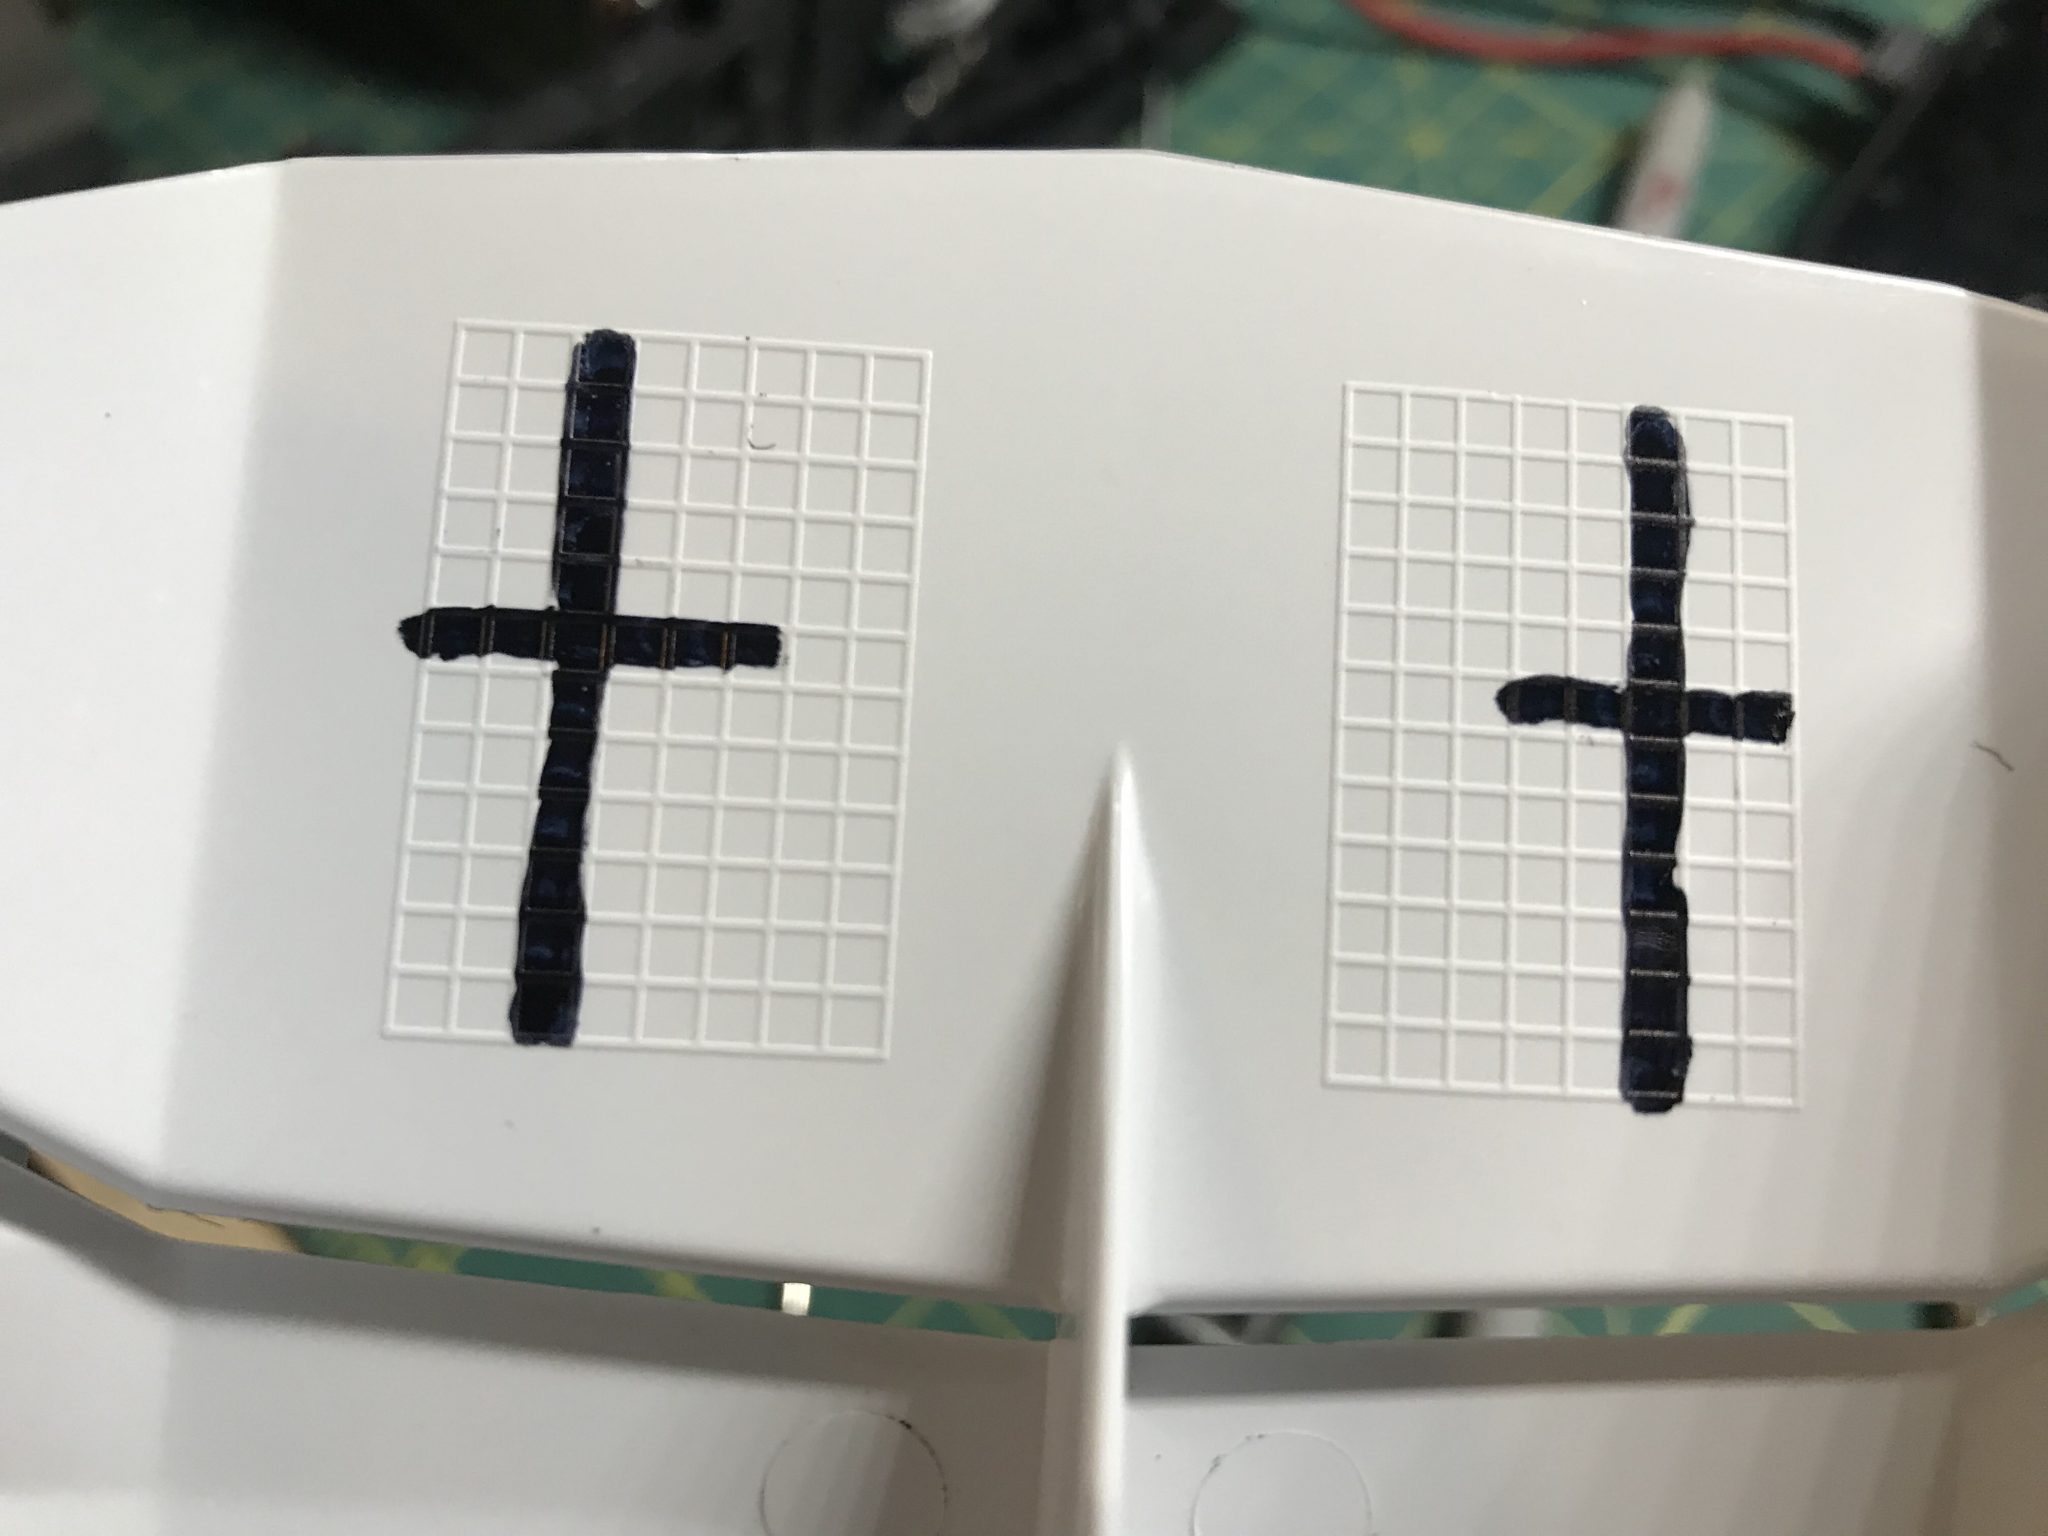
The Pro-Line wing has a handy grid on the bottom which will prevent your drill bit from wandering when you start to drill. I marked the alignment on the grid with a sharpie.
Once the holes are drilled, test fit the wing to the mount.
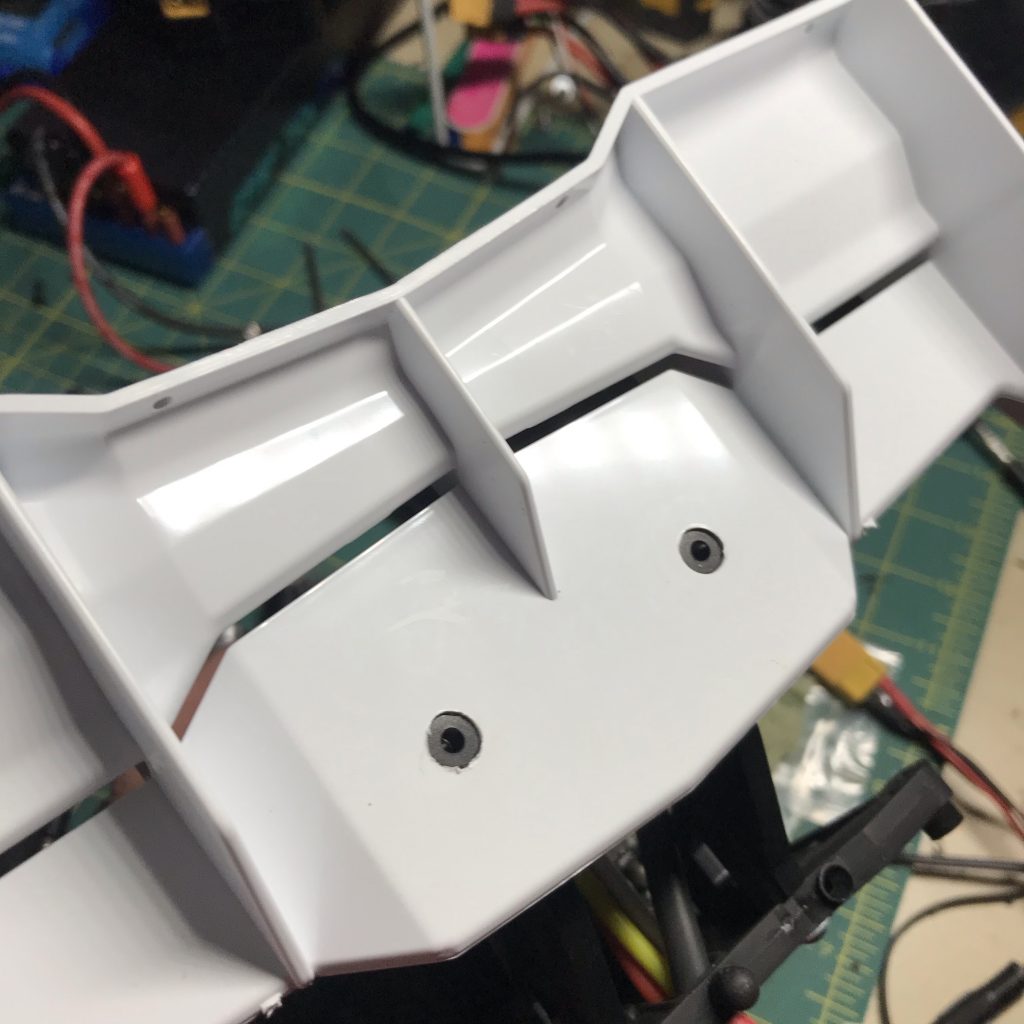
Use the 3x12mm screws and the included wing buttons to secure the wing in place.
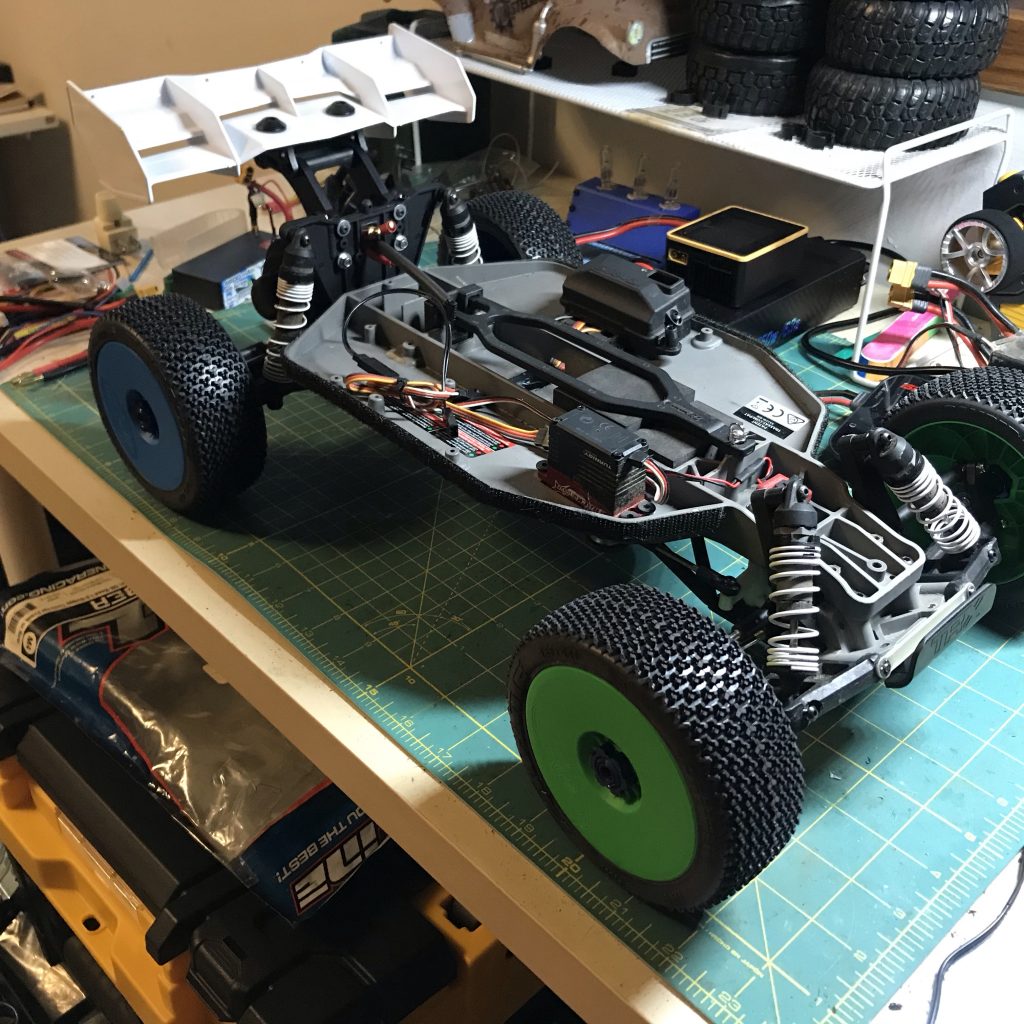
I’ll post all of the parts that I used to complete the Backslash transformation in the next post!

Leave a Reply