After doing a lipo battery upgrade to my friend’s 1st gen (3906) E-Maxx, we discovered that if you went full reverse followed by full forward, the truck would basically do a flip in-place.
We didn’t consider that this is very unfriendly to the drivetrain. After about 10-20 flips (or attempts) the E-Maxx was now front wheel drive.

Mmm.. Candy Canes
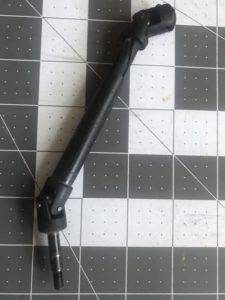
That day I discovered what it means to “candy cane” a CVD – there’s a groove in the inner shaft that allows it to telescope with the outer shaft. Abuse the axles too much and axle will twist, sometimes a full revolution before breaking. Making the groove create a candy-cane like appearance:

CVD Upgrade
Rather than looking for old 3906-spec CVDs, we opted to upgrade to the latest E-Maxx CVDs, which also require some supporting parts. We followed the recommendations from this excellent 3906 upgrade guide.
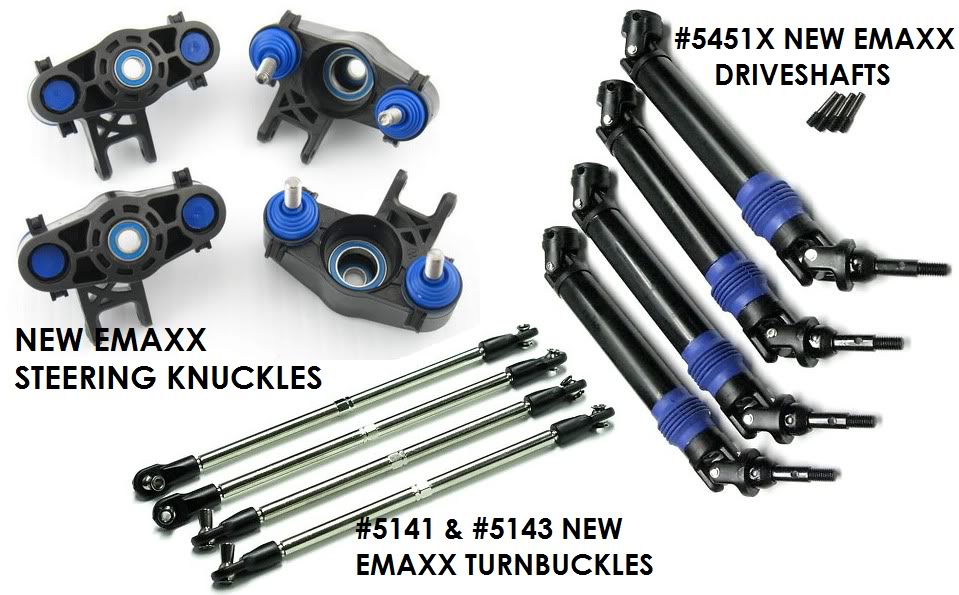
From that guide we ordered:
- Traxxas 5451X CVDs
- Traxxas 5143 & 5141 Turnbuckles (get them on eBay with ends and linkage balls included)
- Traxxas 5334 Axle Carriers and supporting parts (get them complete on eBay with bearings included)
Additions that were needed to complete the installation:
- Traxxas 5131R Upper Arms & 5132R Lower Arms (you can get them as a set on eBay)
- Traxxas 5134 Spacers/Shims
- Traxxas 2580 3x20mm Button Head Cap Screw
You can sometimes find parts bundled on eBay such as this set with arms, axle carriers, turnbuckles, and screws. Then you just need to add CVDs and shims.
Tiny Arms
After purchasing the first set of parts, I went to install everything and discovered the arms were way too short. There were apparently two arm-length options in the 3906 series alone, wide and narrow. If you don’t know what you’re running, here are the specs:
- 110mm Narrow Arms
- 127mm Wide Arm (no need to upgrade)
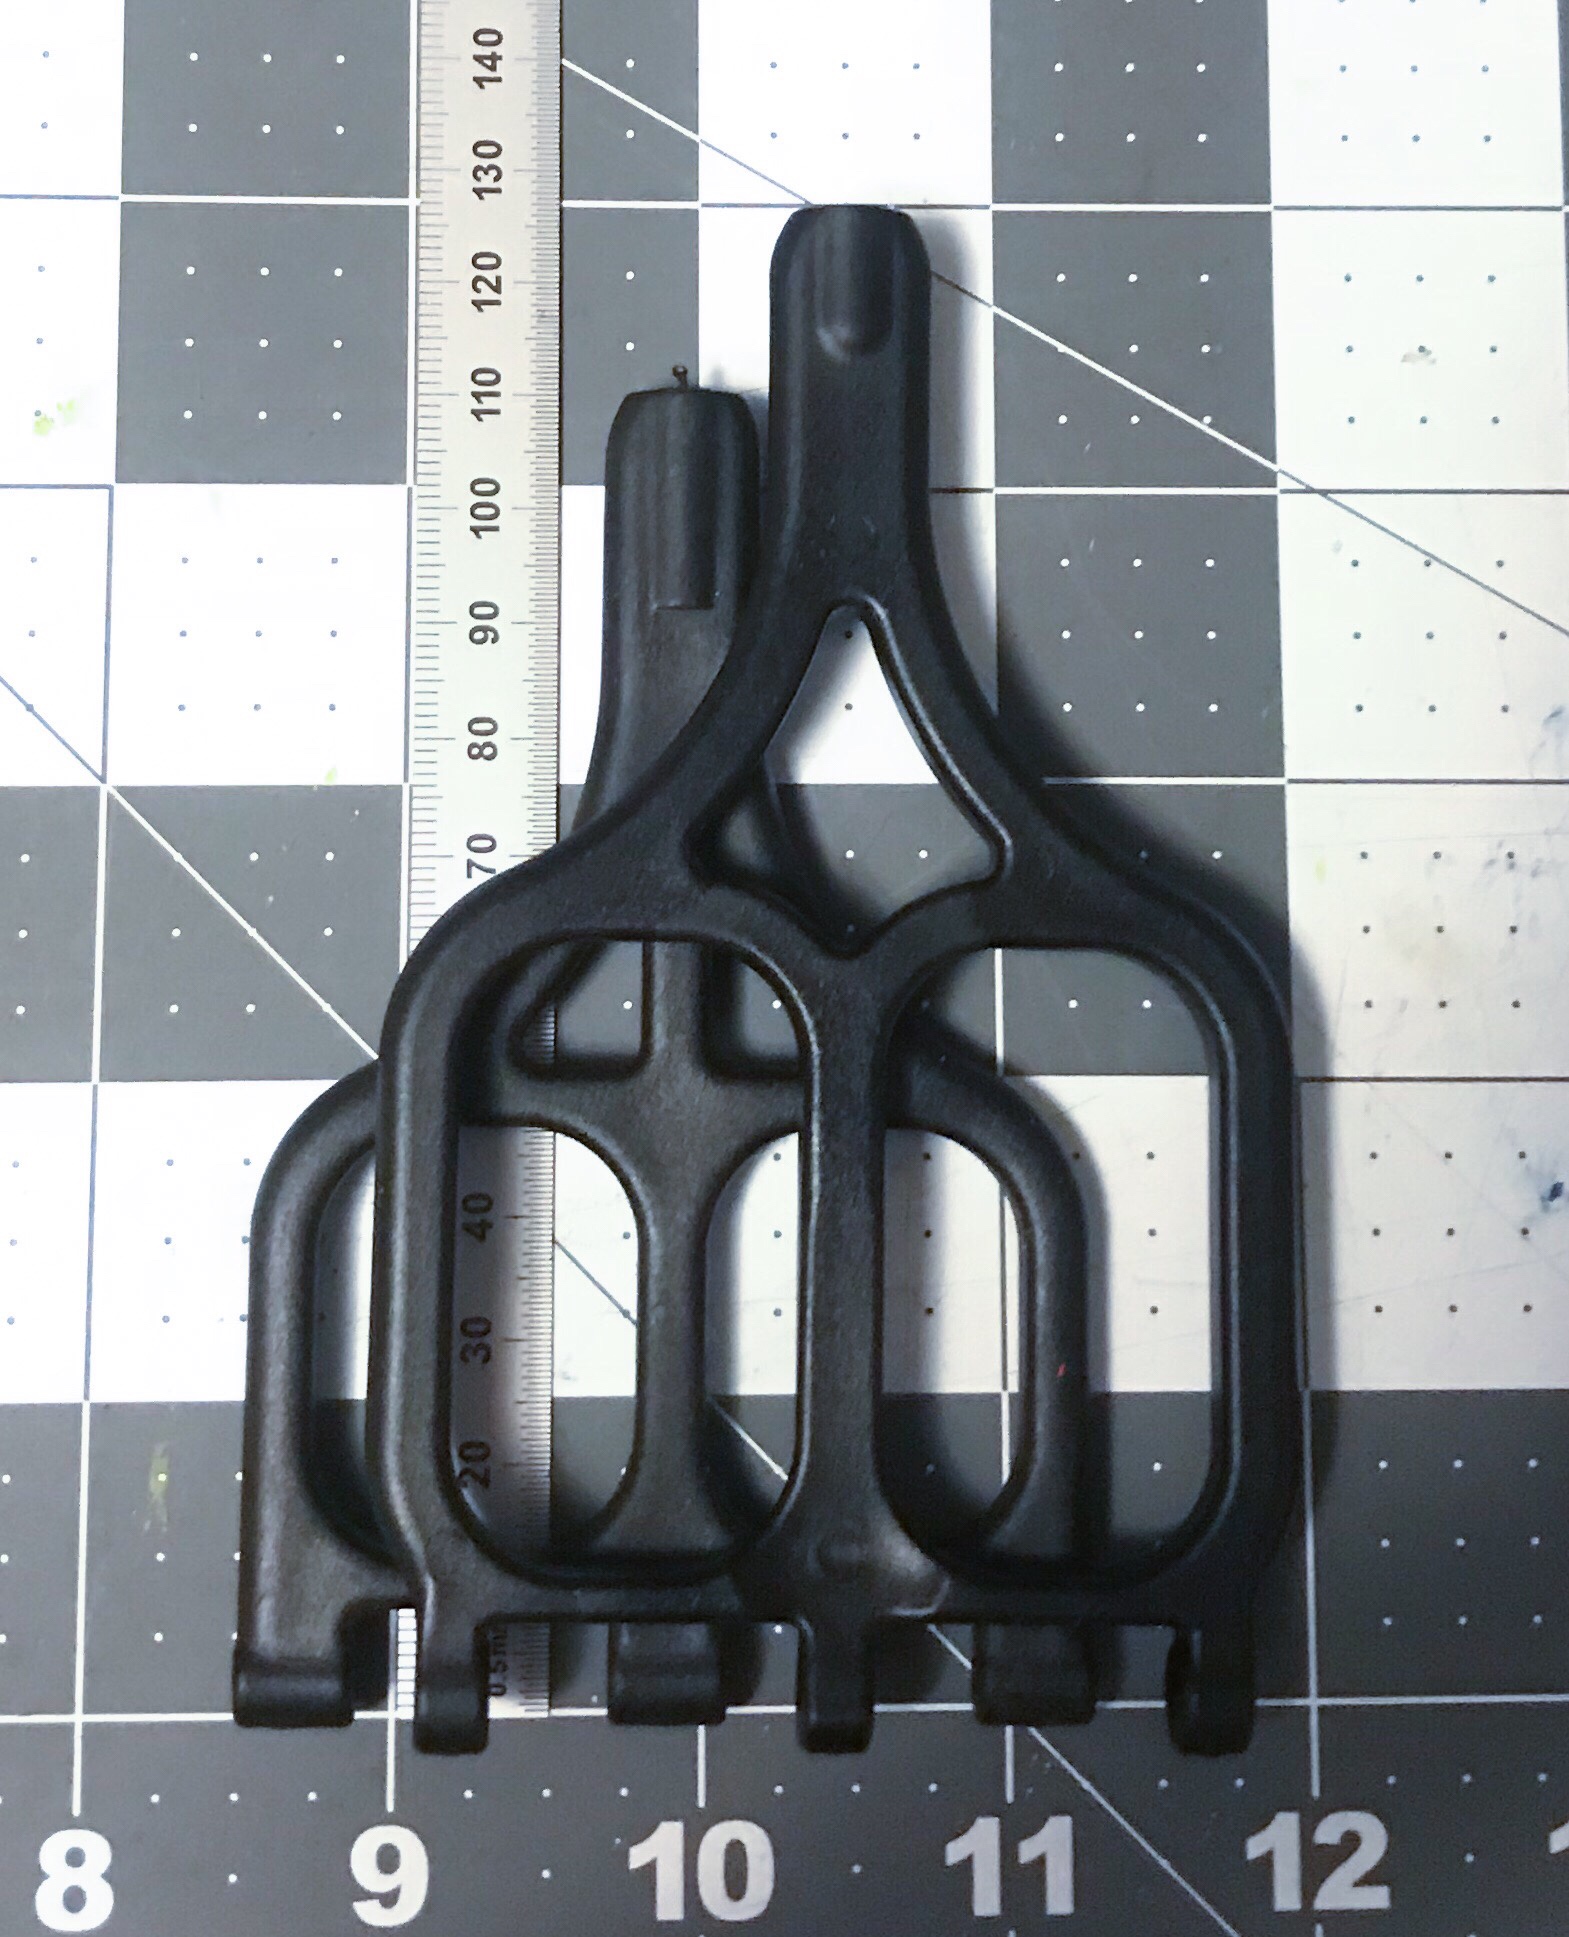
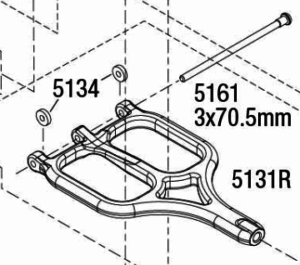
But that’s not the full story. I did some research using the E-Maxx 3903 front and rear exploded views to see what else is different. Notice how the longer arms have narrower hinges where they connect to the bulkhead? This is for adjustability, and that’s where the 5134 Spacers/Shims come in. Use the removable C-clips in front (so you can adjust the caster):
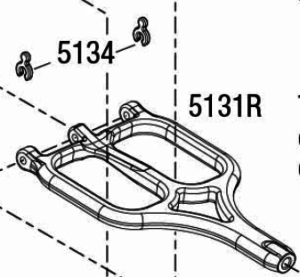
Install the circular spacers in back:
The shorter 5141 turnbuckles used for steering linkages come with offset ball mounts. Make sure the extra space faces up:
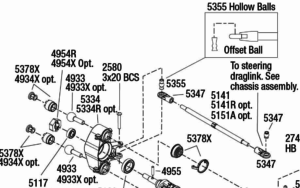
Attach the turnbuckle to the new style axle carrier using the longer Traxxas 2580 screws. That’s it for assembly, time to adjust everything before putting it back on the road.
Set Toe & Camber
Camber is adjusted using the pivot ball screws that connect the axle carrier to the arms. According to the manual, the top screw is normally all the way in, meaning the camber adjustment is made primarily through the bottom screw. Stock camber angle is one degree of negative camber.
Toe is adjusted with the turnbuckles and stock adjustments are one degree of toe-in at the rear and zero degrees at the front. I adjusted the front to 1 degree out to soften the turn-in.
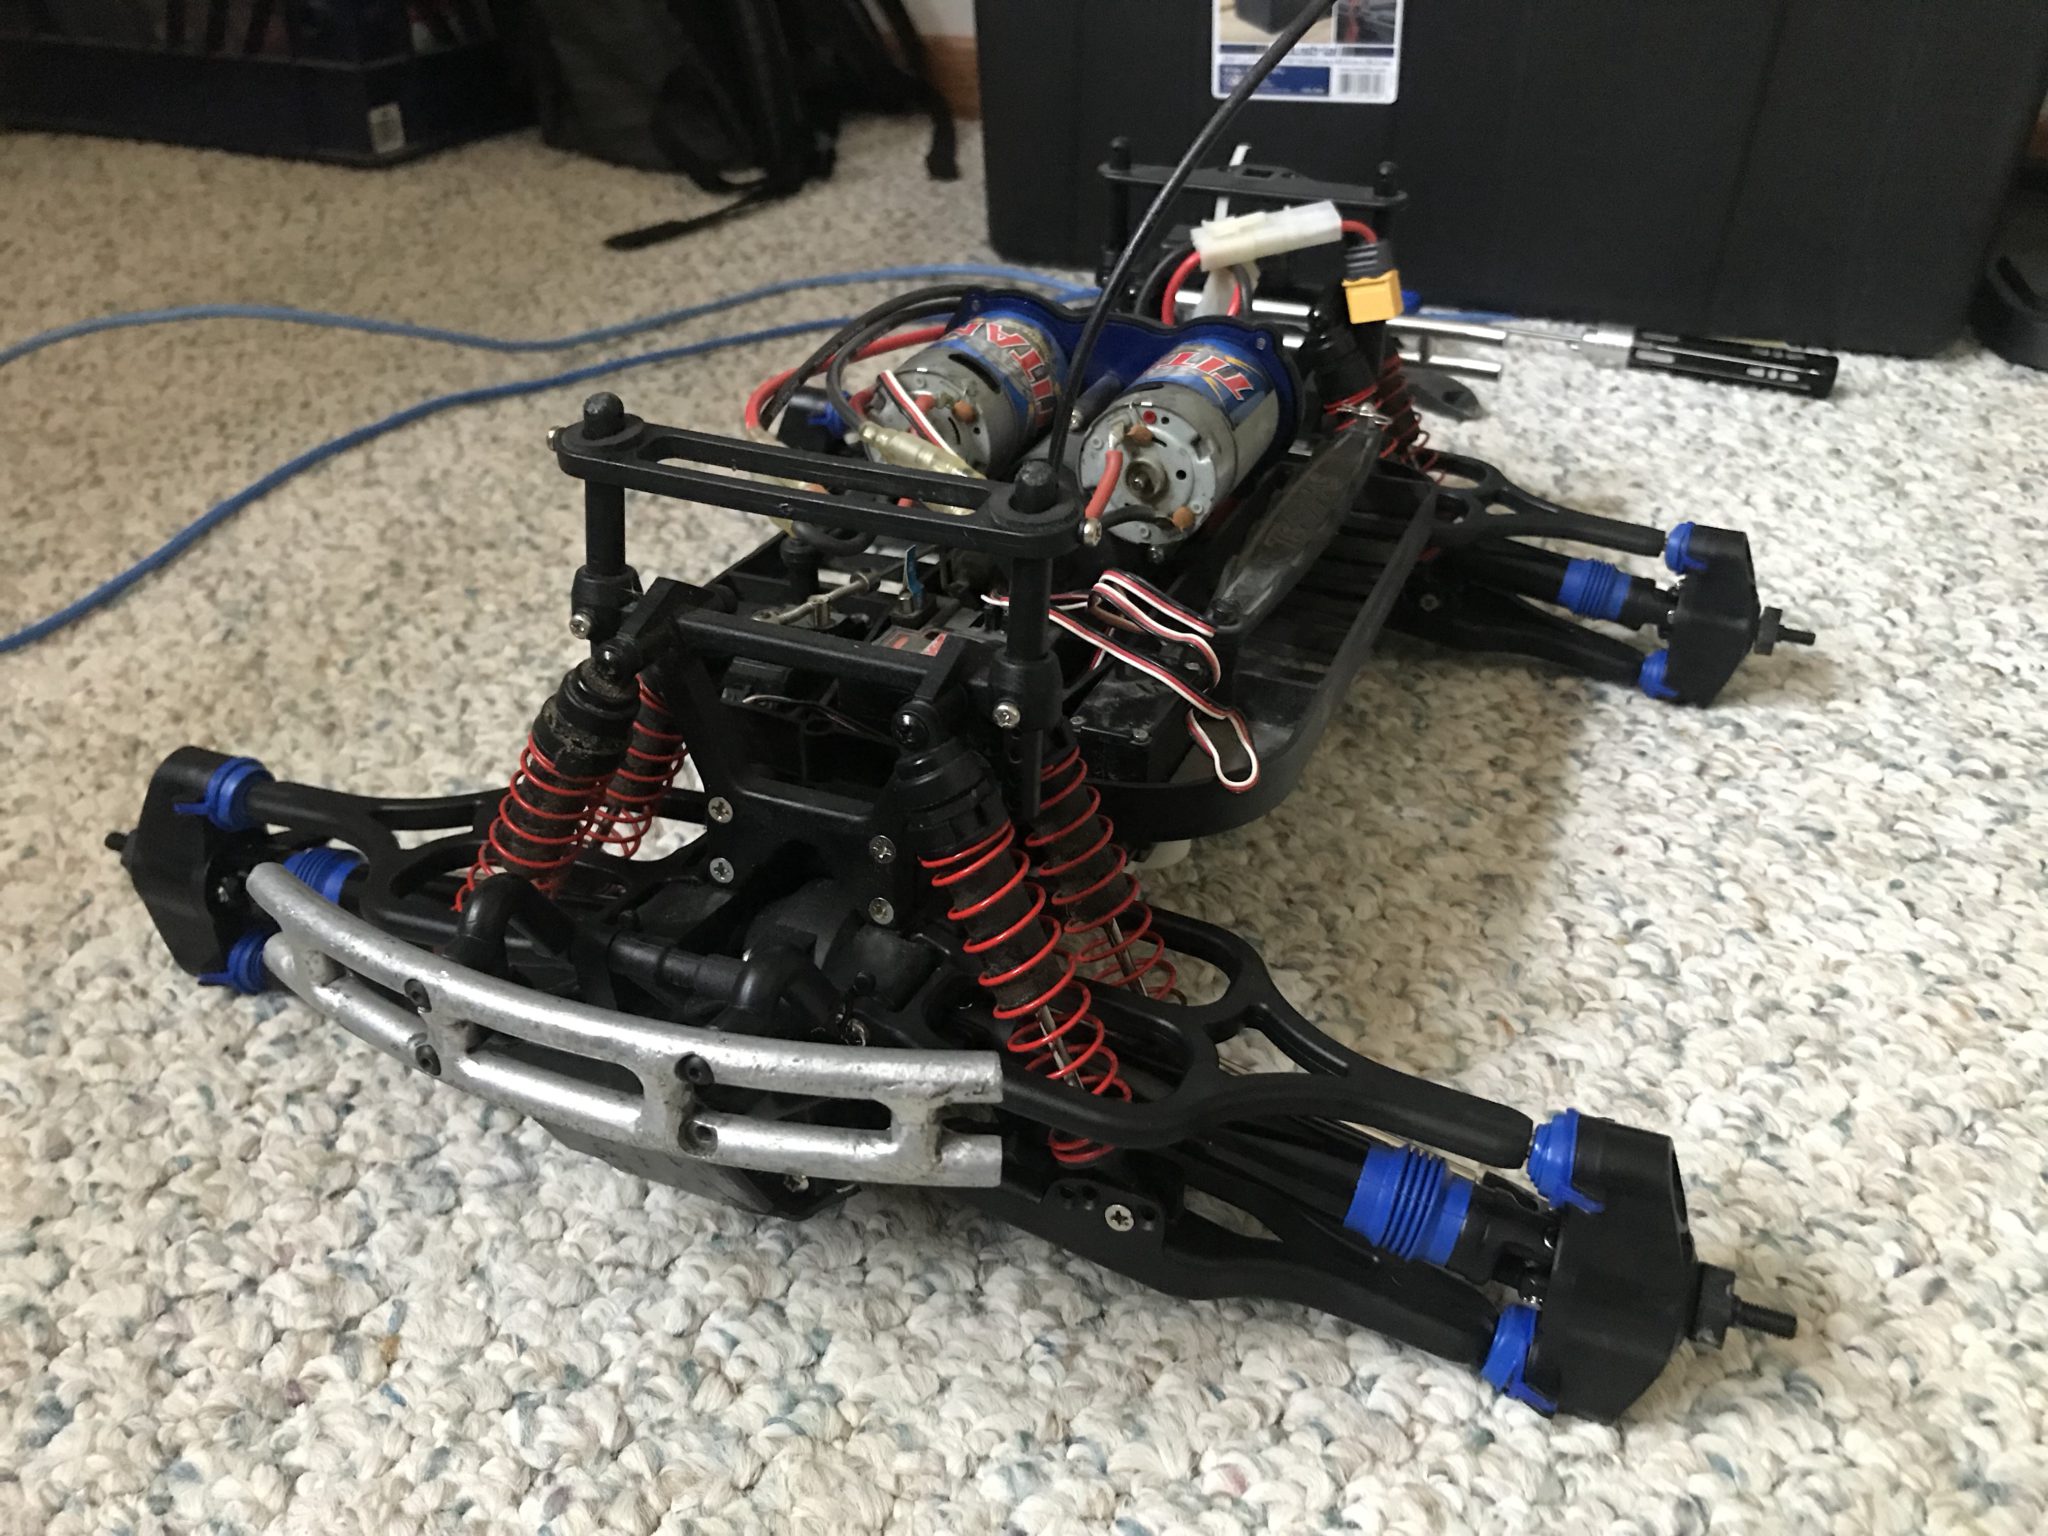
With the wider stance you can probably go a little nutty on your wheel/tire options. But mostly you have a more robust platform that will be easier to replace and repair with more widely-available parts.
I have a feeling something upstream in the drivetrain will fail next: driveshafts, slipper clutch, spur gear, etc. But until then, we’ll just enjoy the ride.

[…] truck and the tires will quickly remove the body clips for you. Guarantee we lost one when this E-Maxx ran over the […]